Blog Archives
Wilton Course Three Completed!
During the month of April I took the third Wilton cake decorating course. This course is all about gum paste and fondant. Well mostly gum paste. I learned a lot. I like to watch those cooking shows like Ace of Cakes or Cake Boss and I always wanted to know how they made their flowers. They looked so real! Well now I know how to make some of them and have the knowledge to learn how to make others. This class was really exciting for me.
I have only used fondant a couple of times and had never used gum paste. Usually I just ice the cake and do some piping. After this course I feel that I can expand my cake decorating! Here are some of the techniques and flowers I learned.
Let me just say, buying the course three kit was such a good investment for me. I already had most of the tools, but there were a couple I didn’t have. Like the ribbon cutter. Now I have one, along with some hard to find shape/cookie cutters!
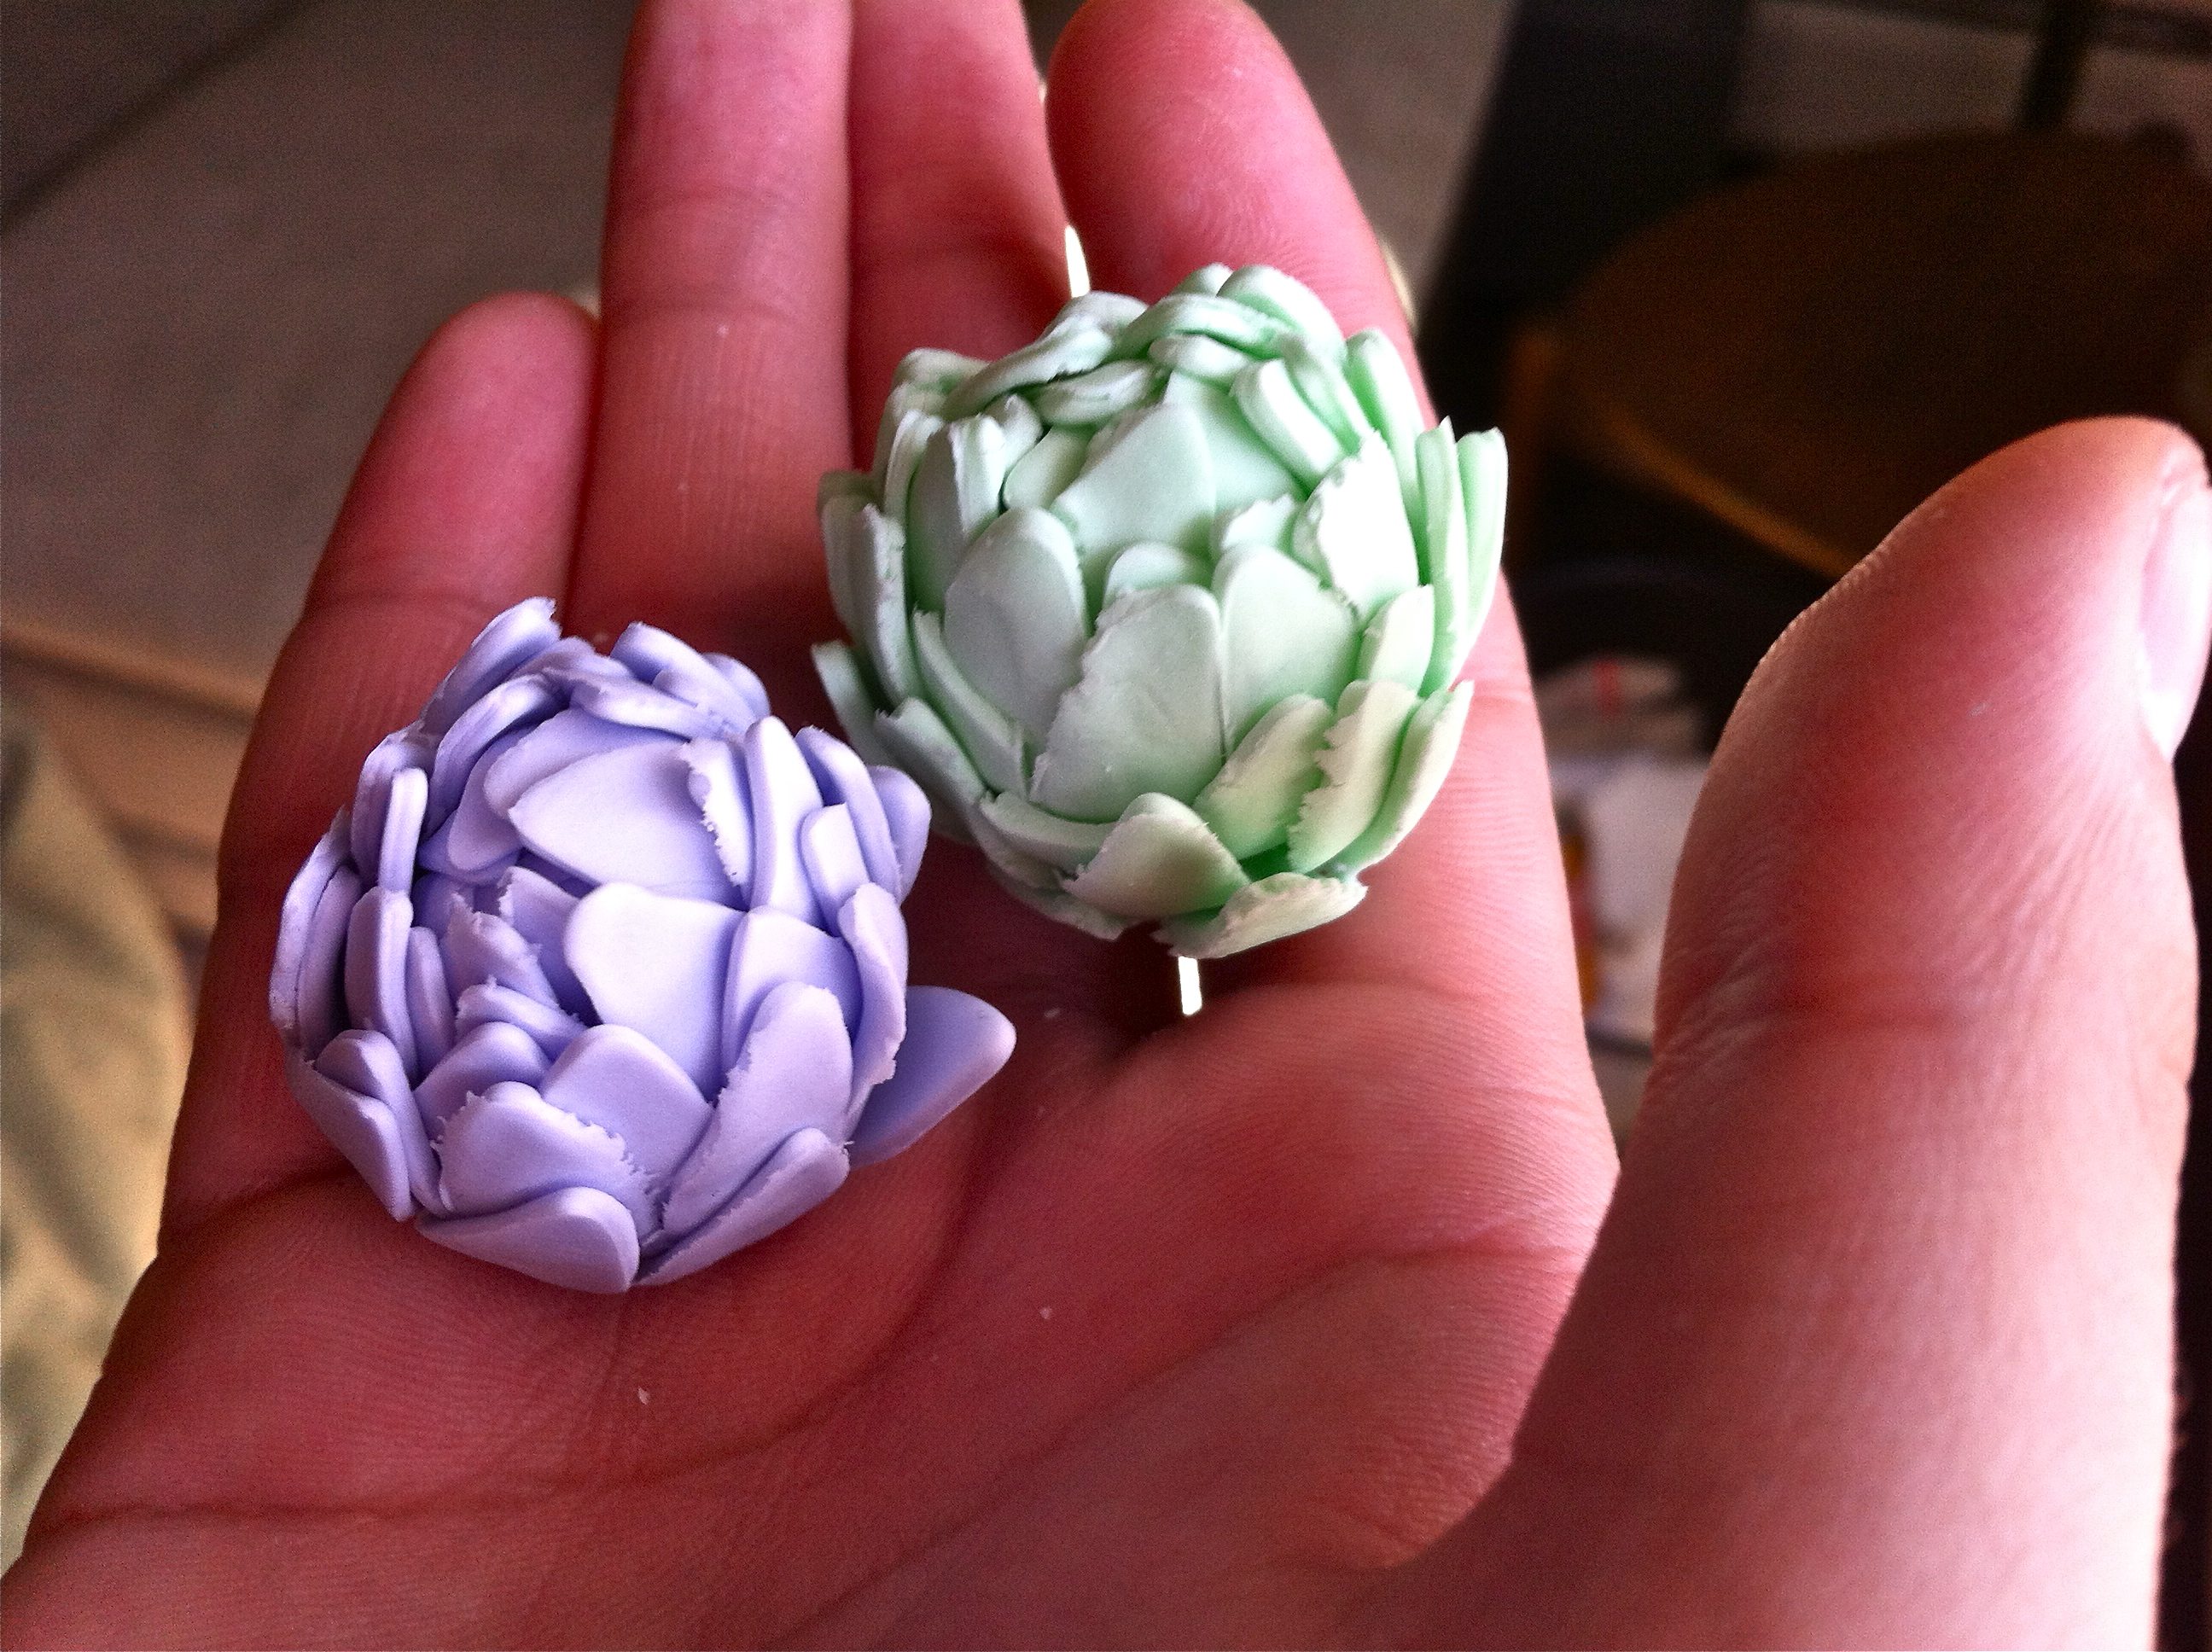
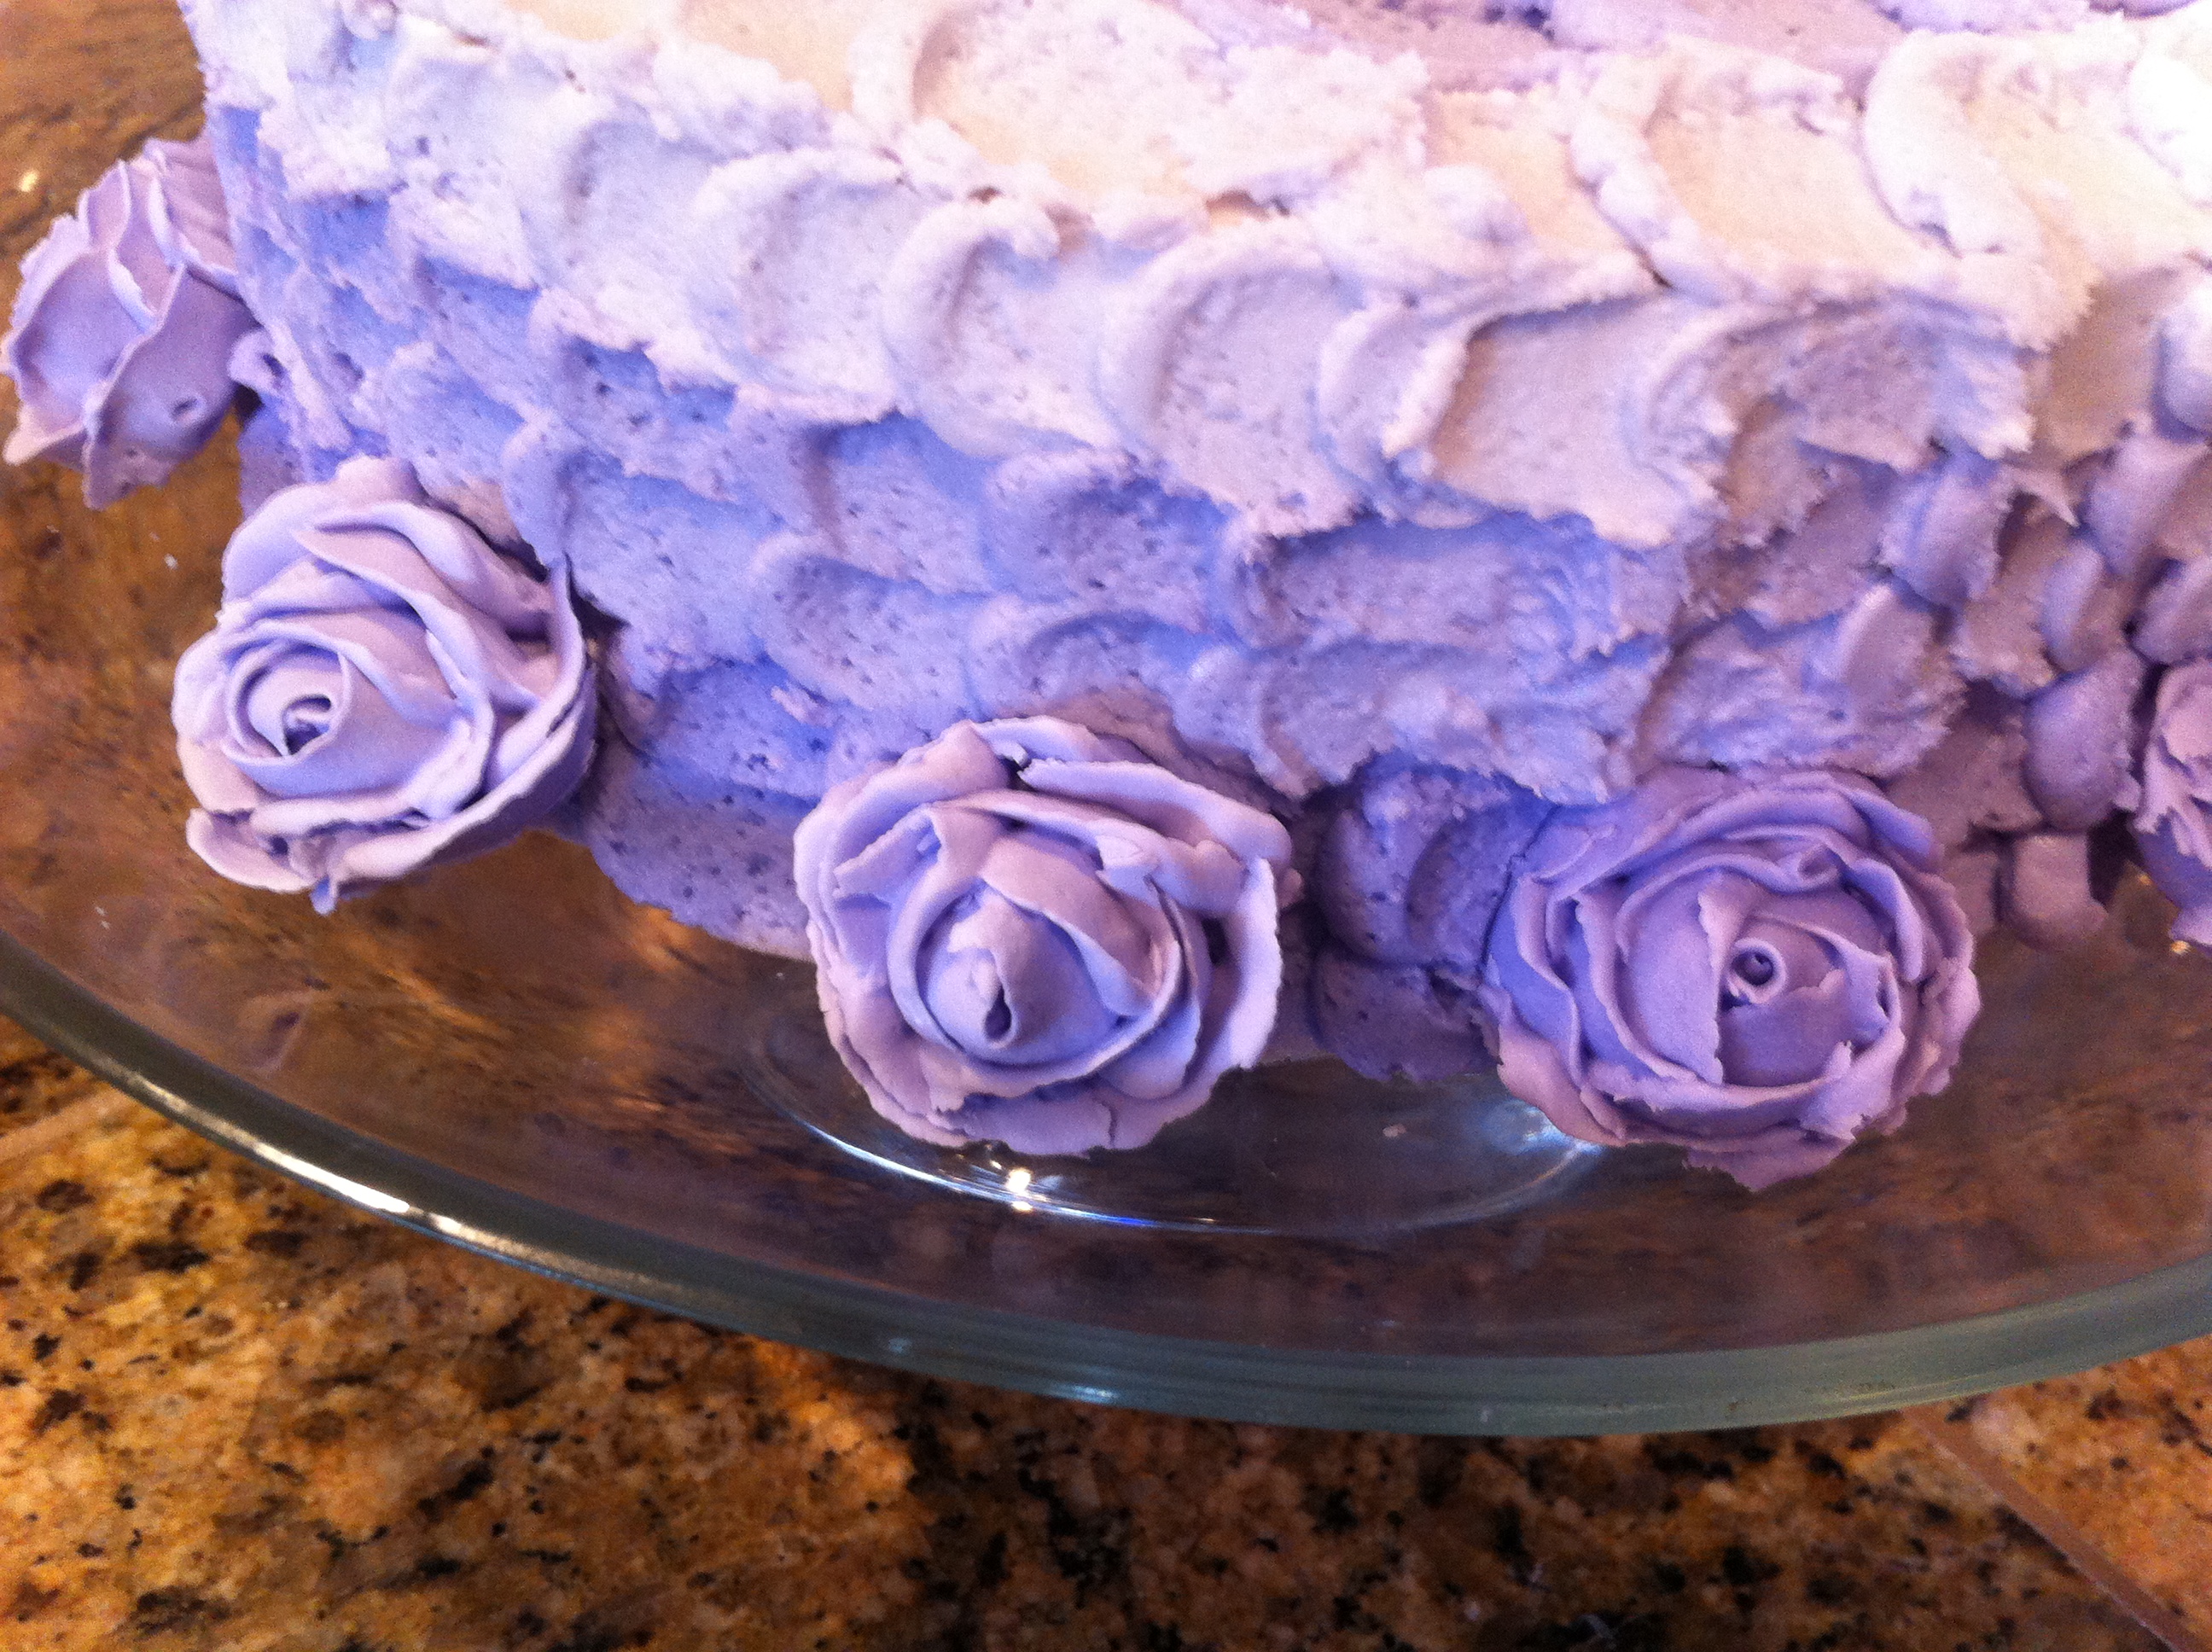
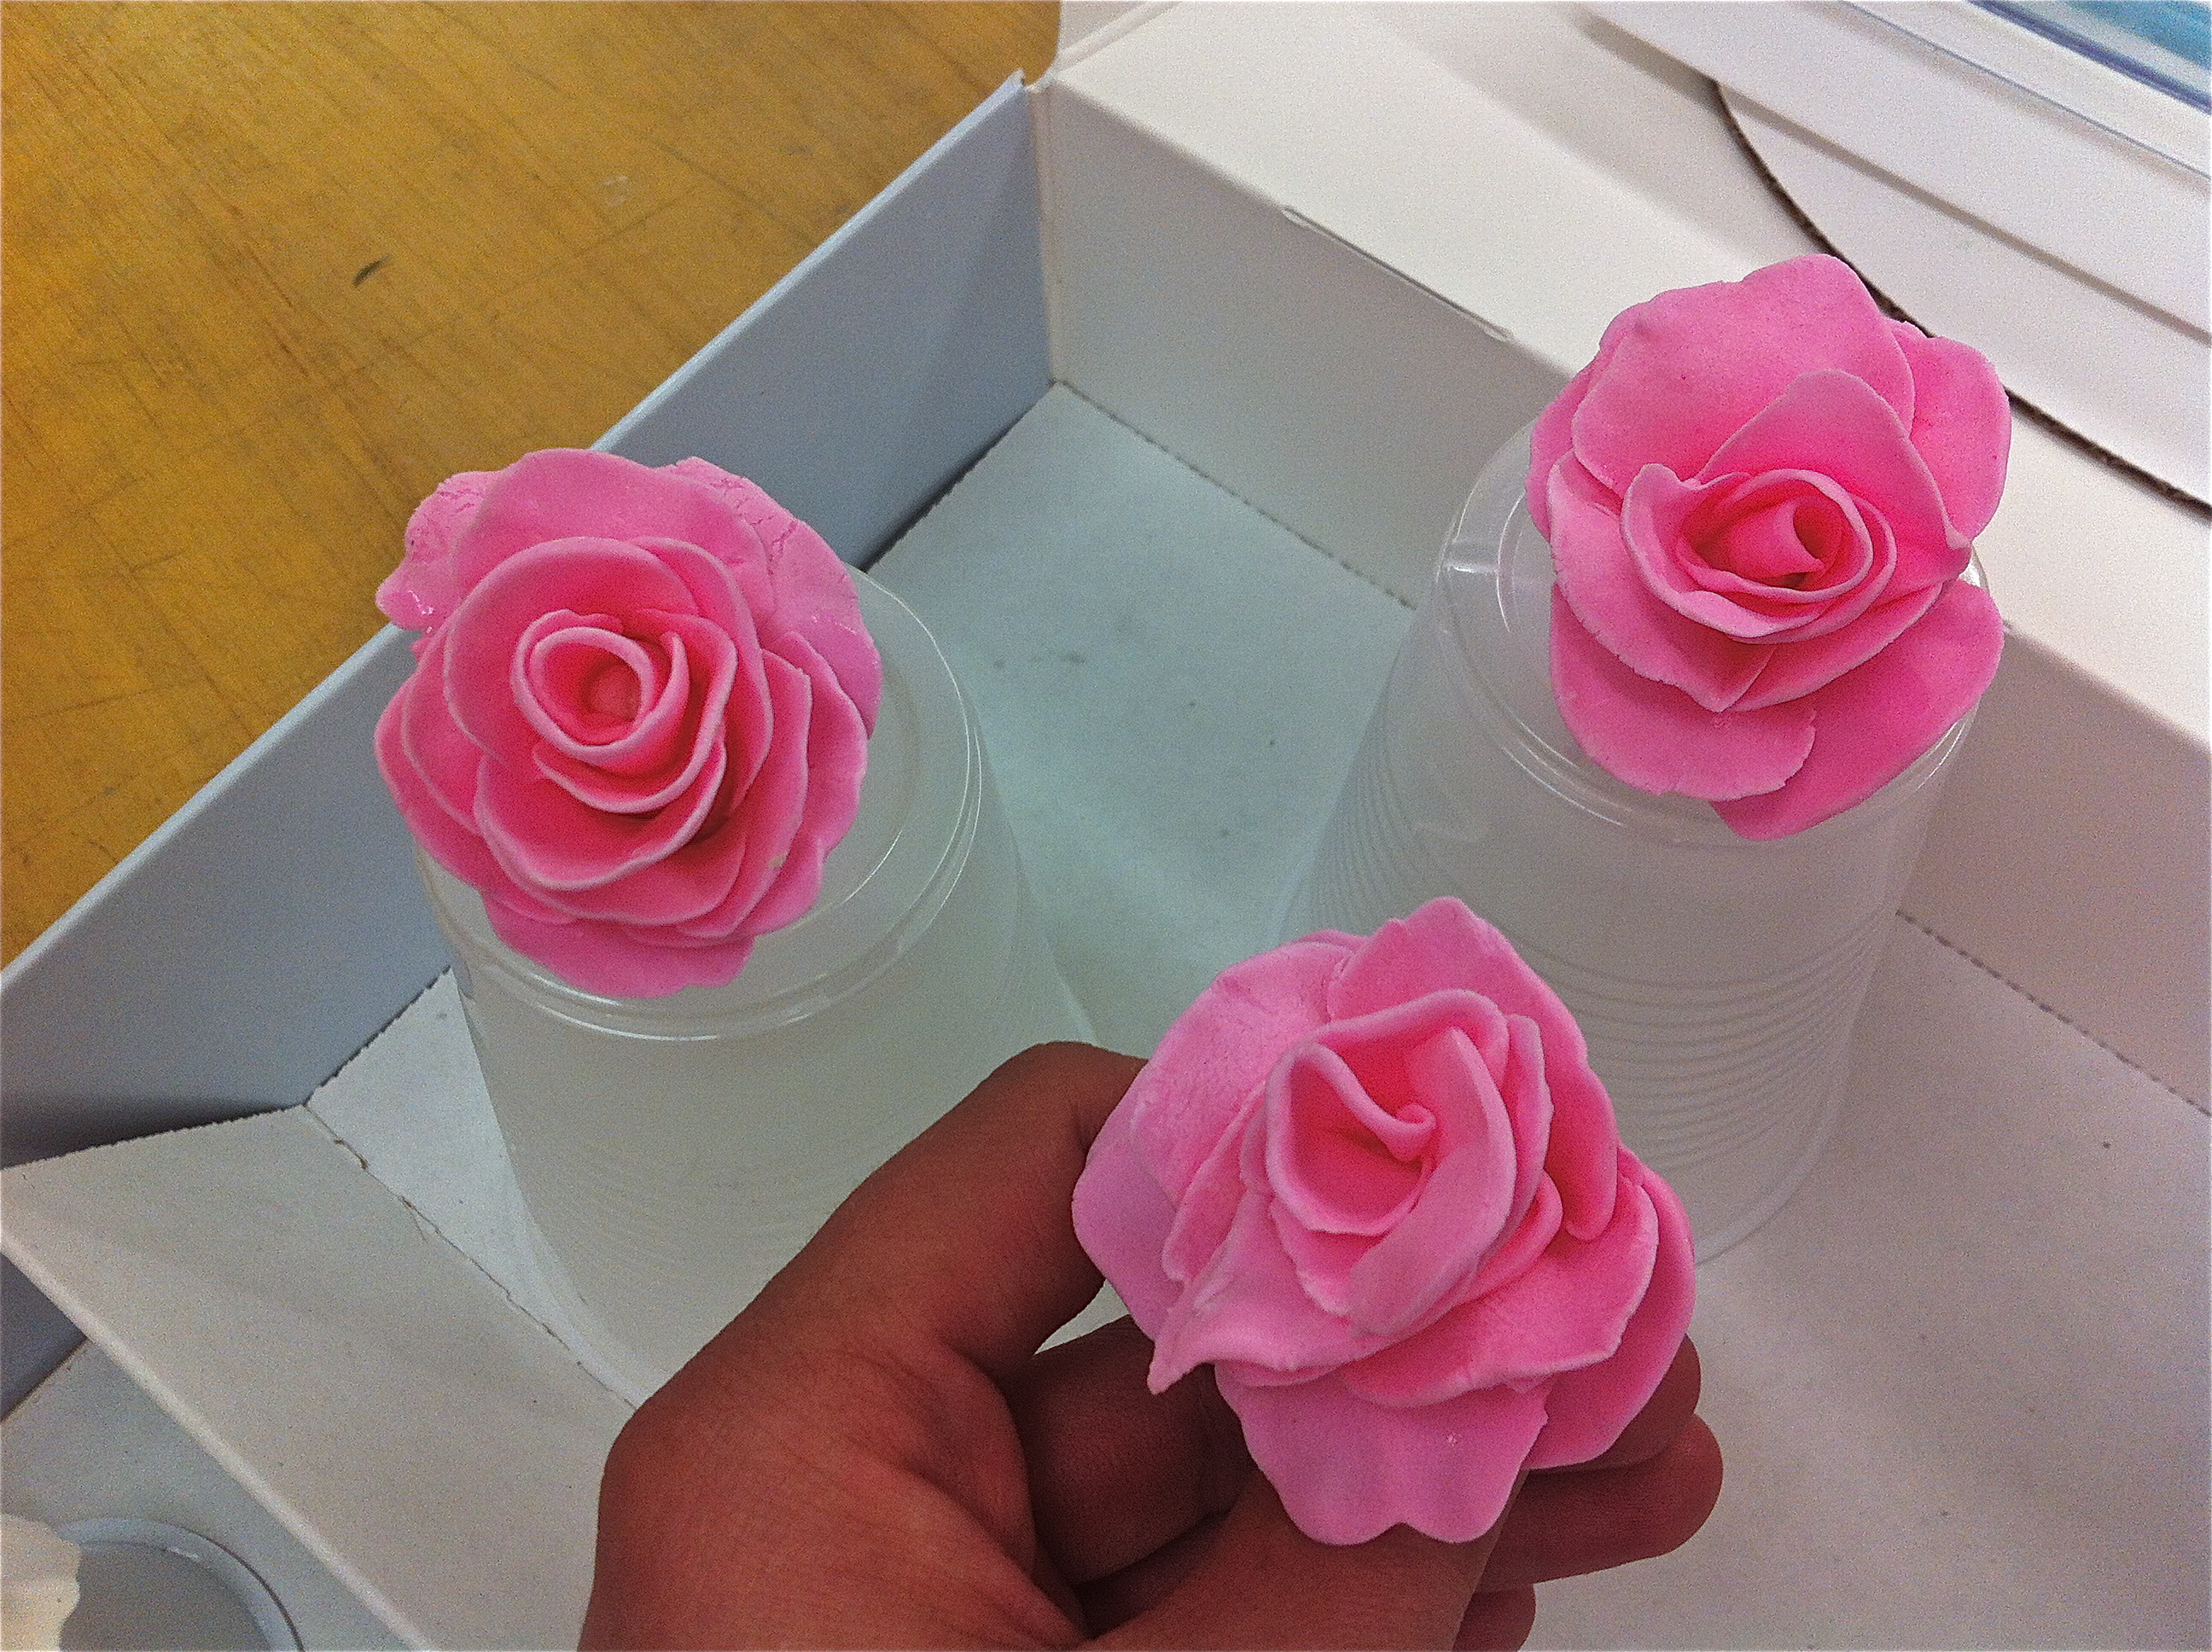 My favorite of these roses is the most right rose. I like how open it is. I think it is the most real looking flower of the bunch. The only problem I had with using gum paste is that you can’t eat it. I know a lot of people who like to eat the decorations on their cake. It’s a bit awkward I think to tell someone they can’t eat the flowers on the cake, when most commercial cakes you can eat the flowers (usually they are icing).
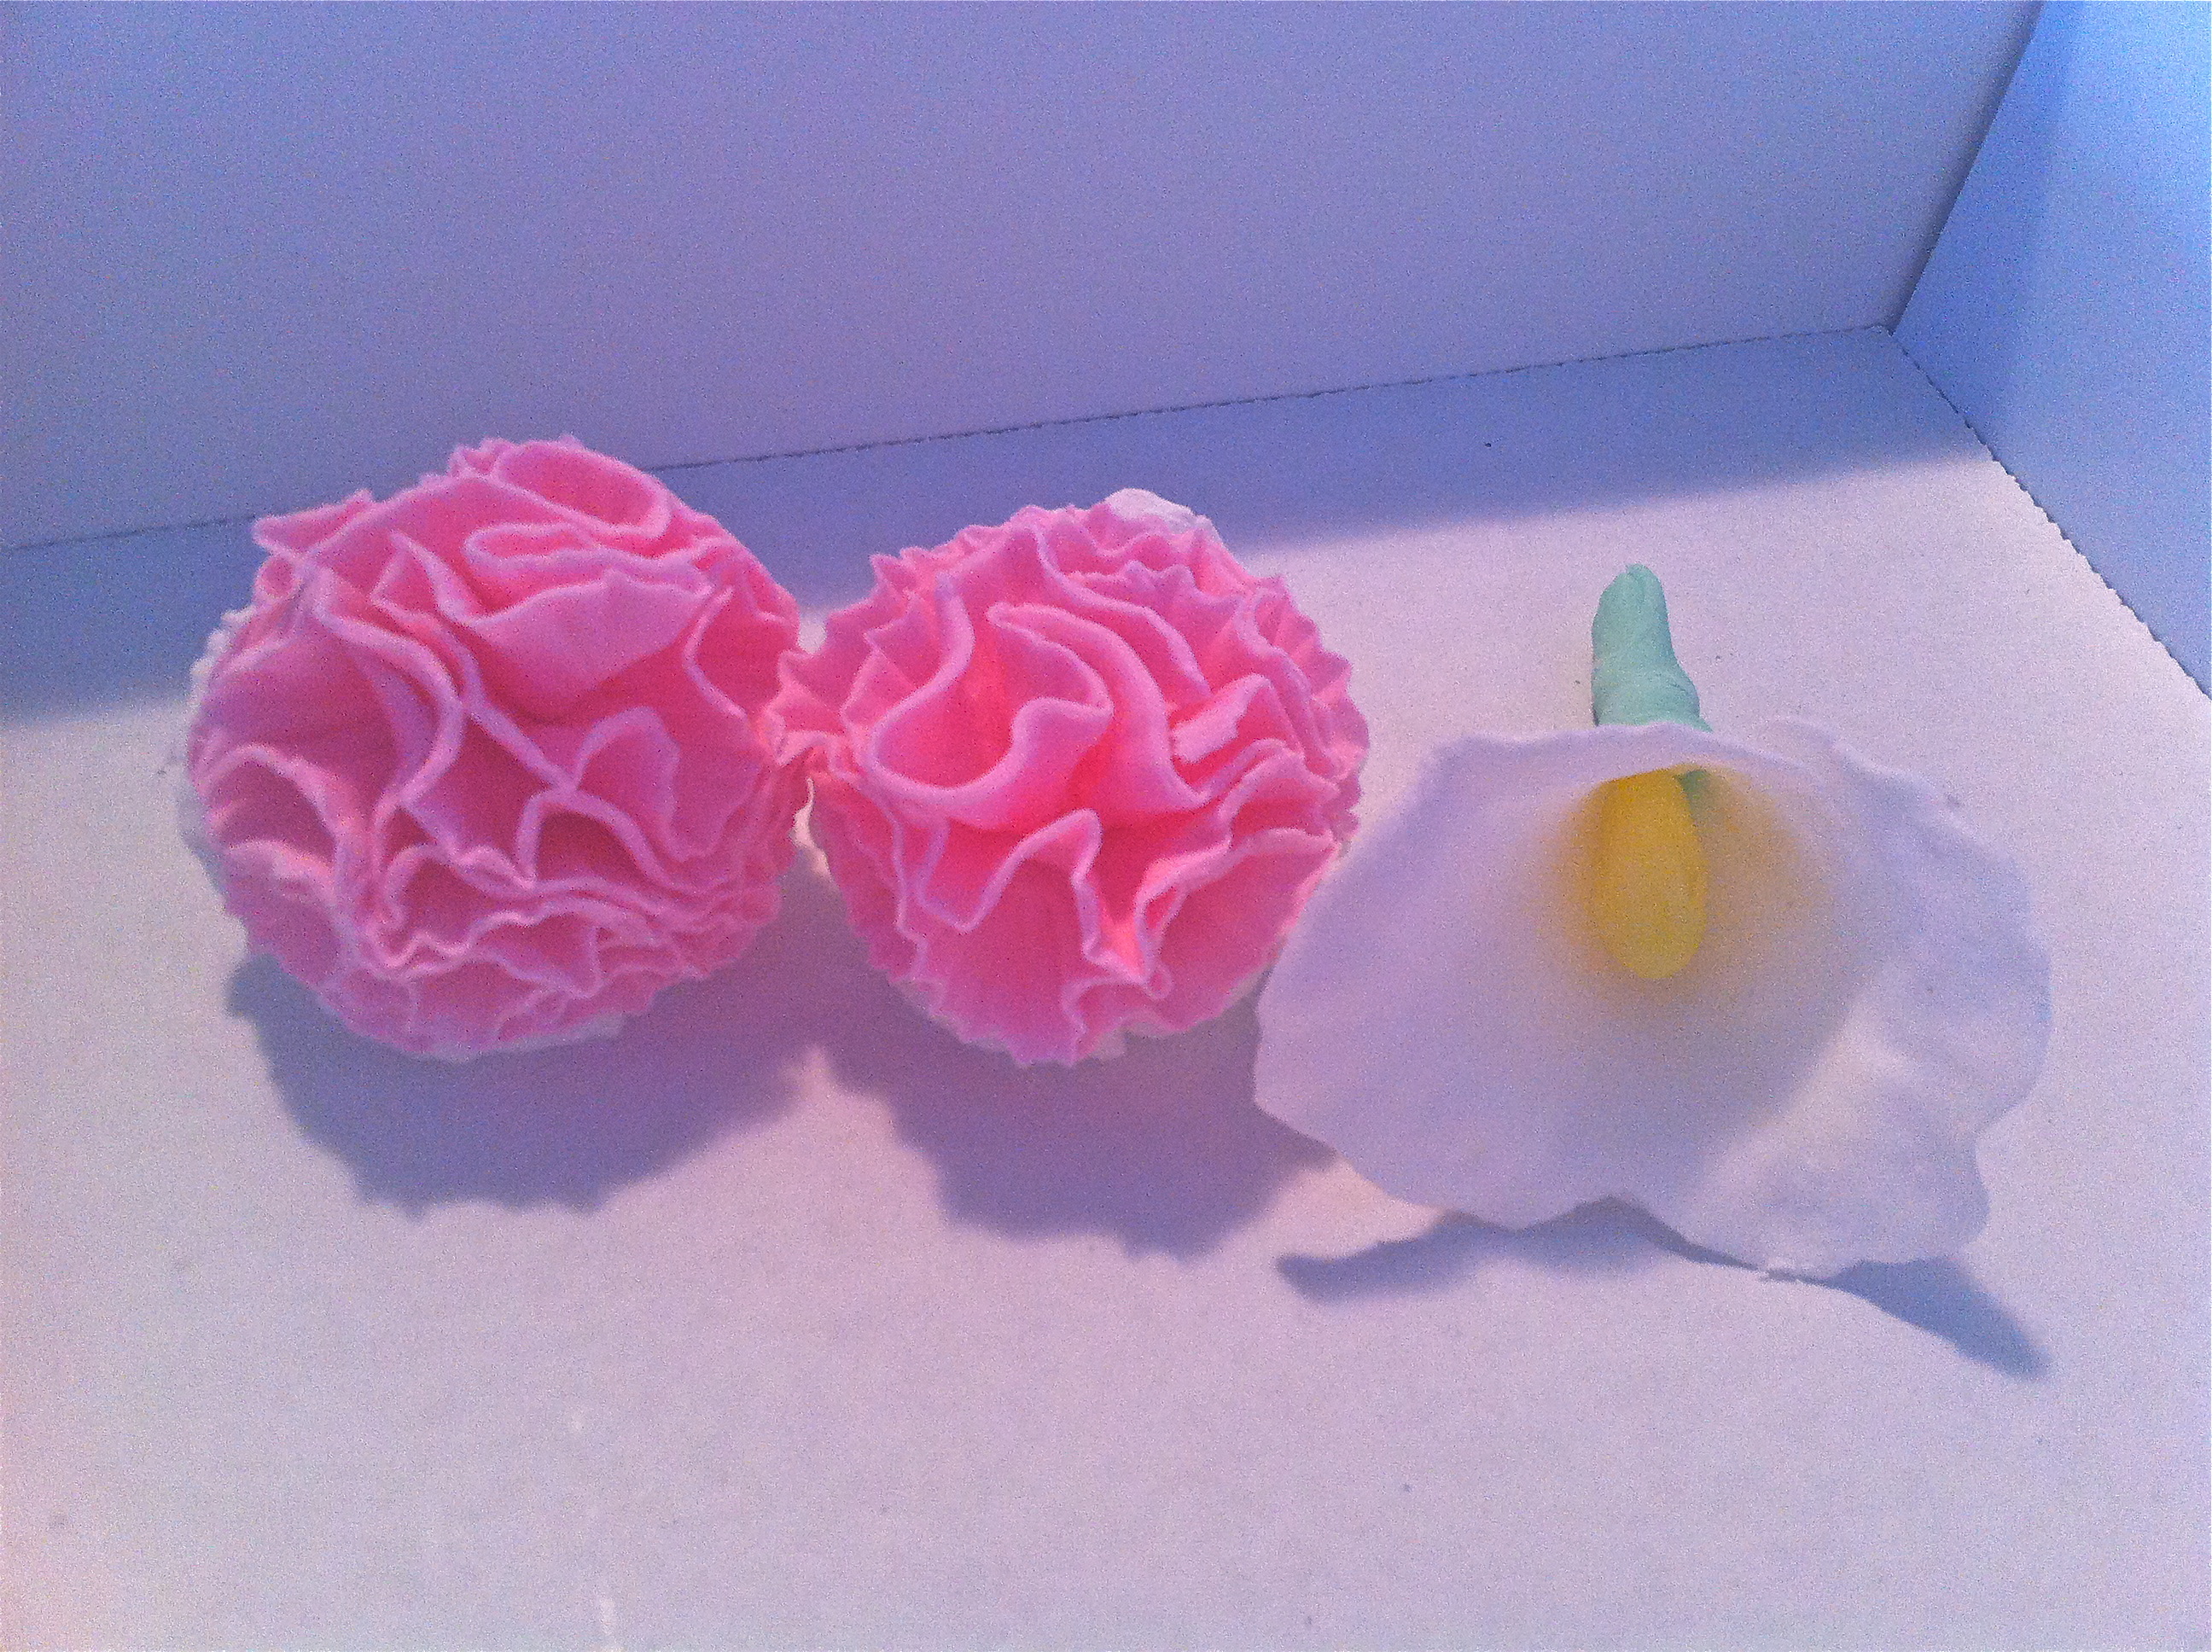 I really liked how my carnations came out. They were so pretty! Too bad I didn’t have something to put them on. The lily came out pretty well too, but I need to practice pulling the edges. I think I made the edges a little to thin and they didn’t really ripple like I had hoped.
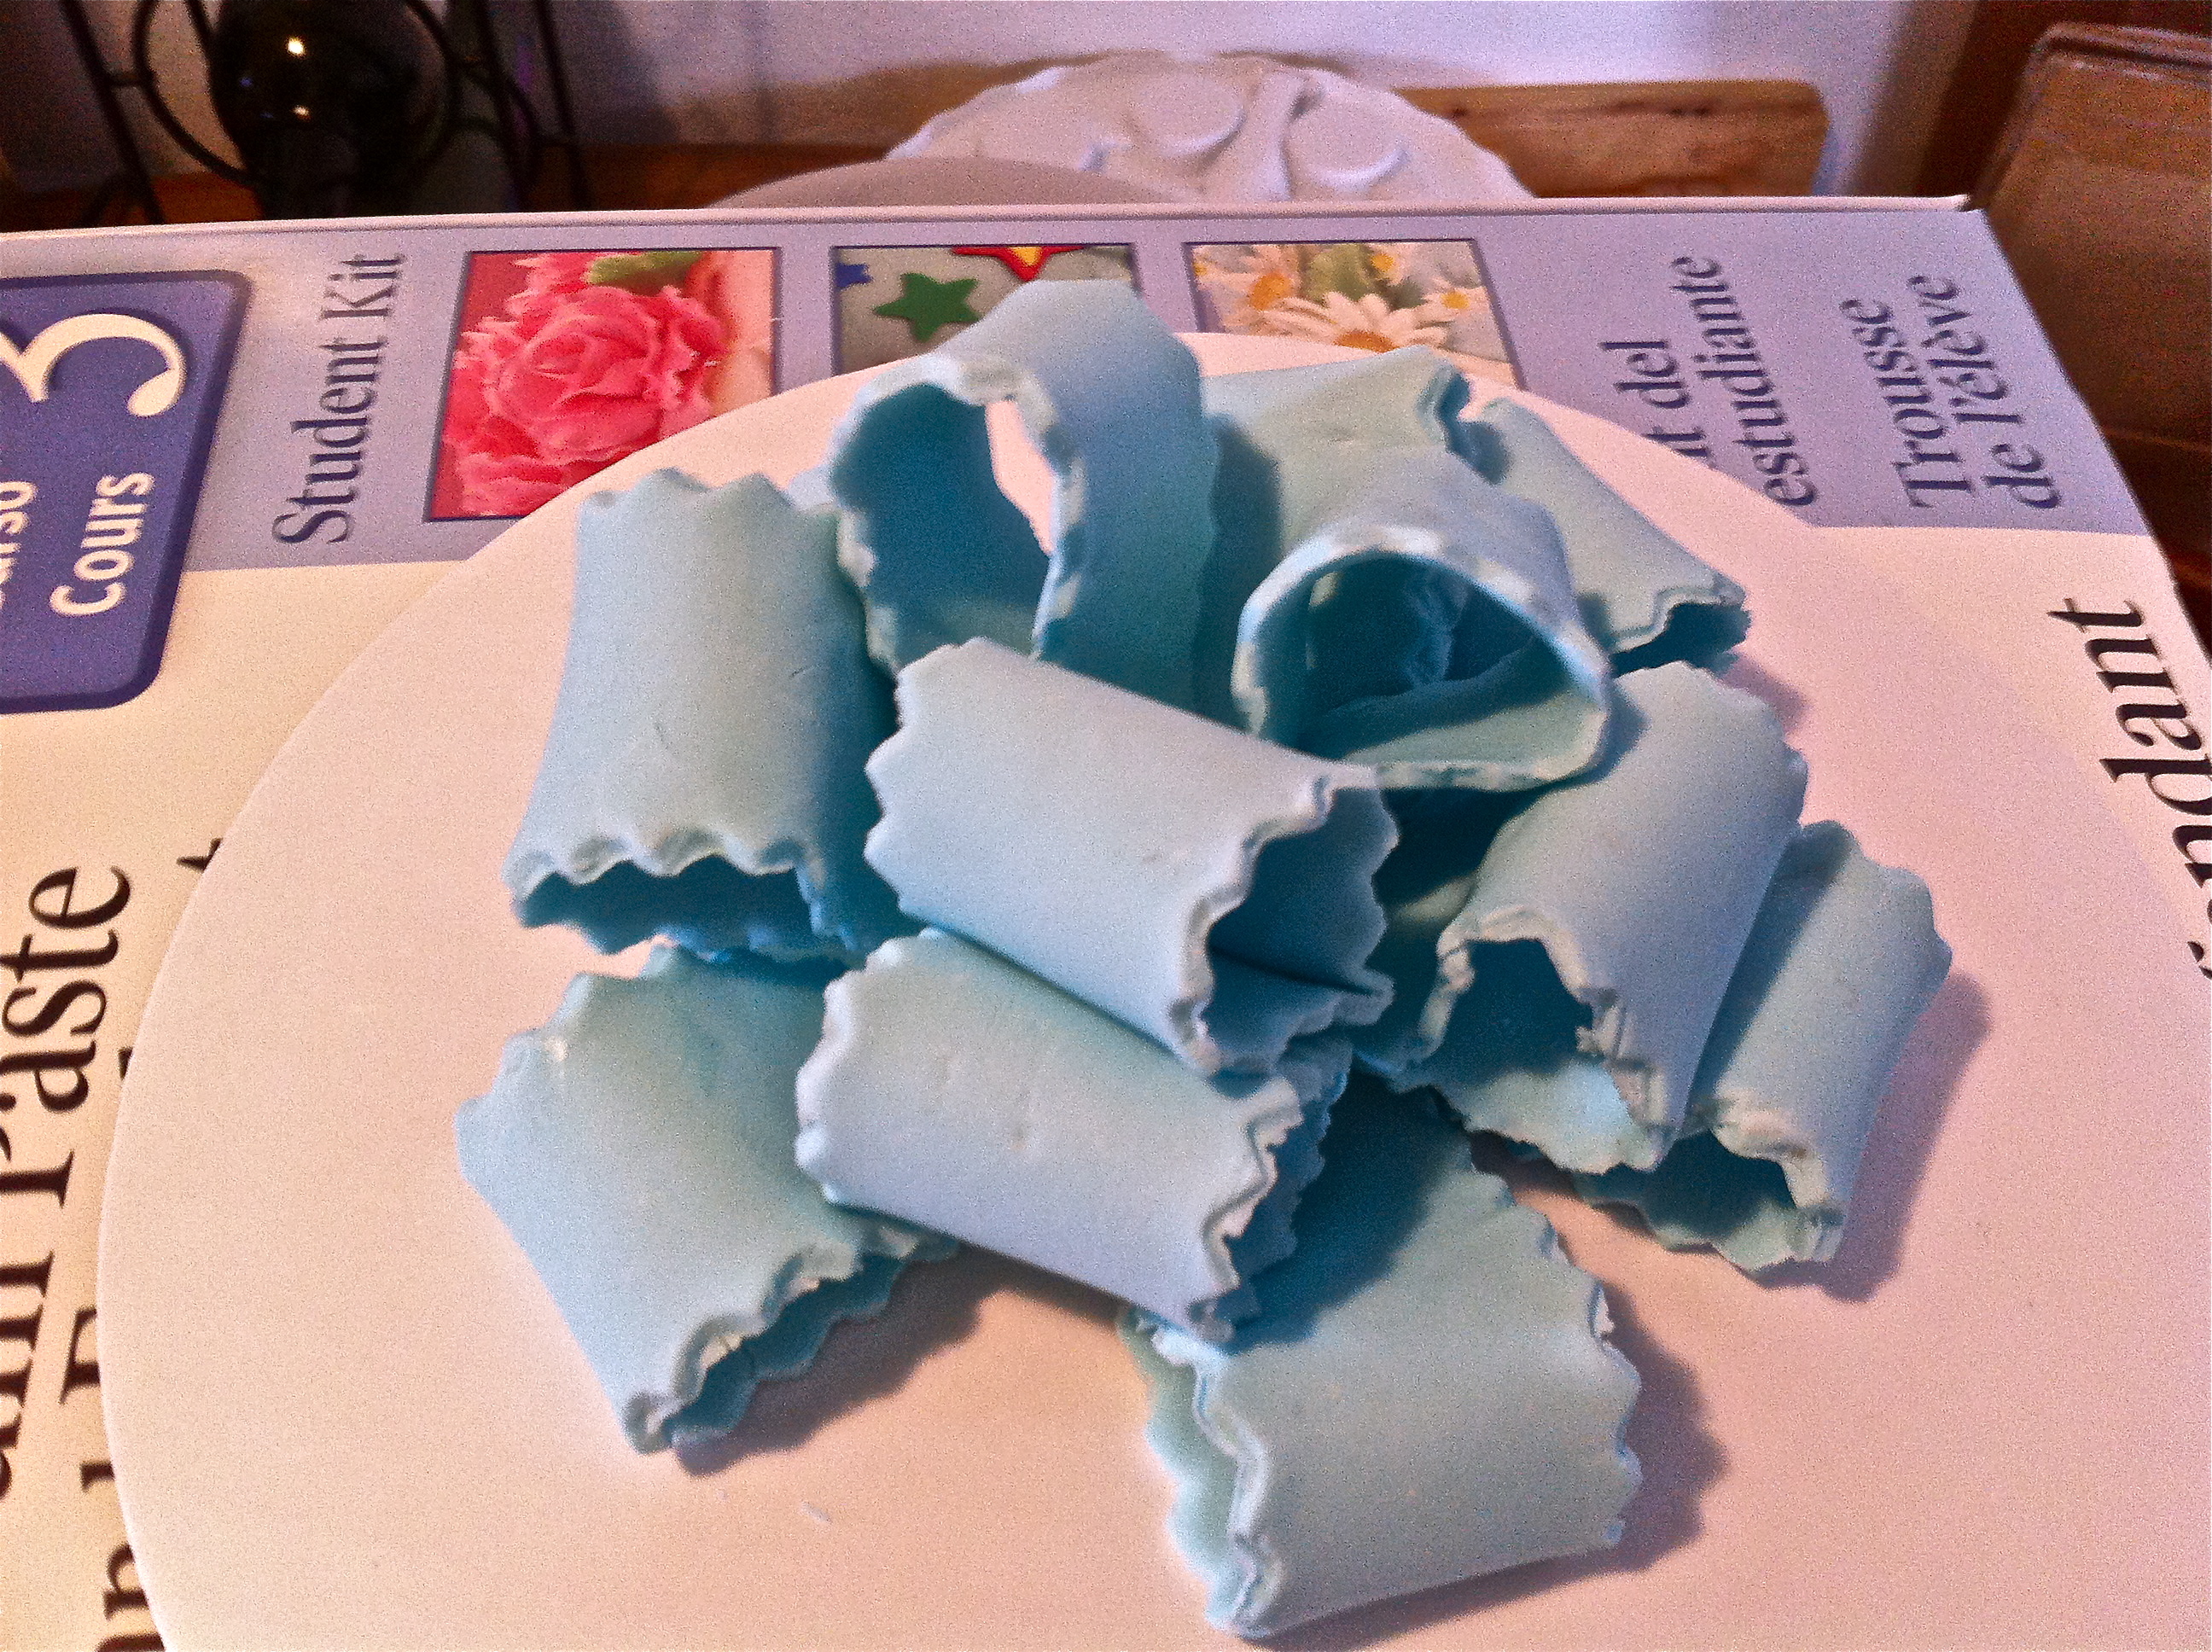
 So I learned how to make Mums. What the heck are Mums? I don’t think I have ever seen them in real life. I struggled a bit with these flowers because I kept snapping the stick (spaghetti can be so fragile). I did like how they came out, but I am not sure I will ever actually use this flower on a cake.
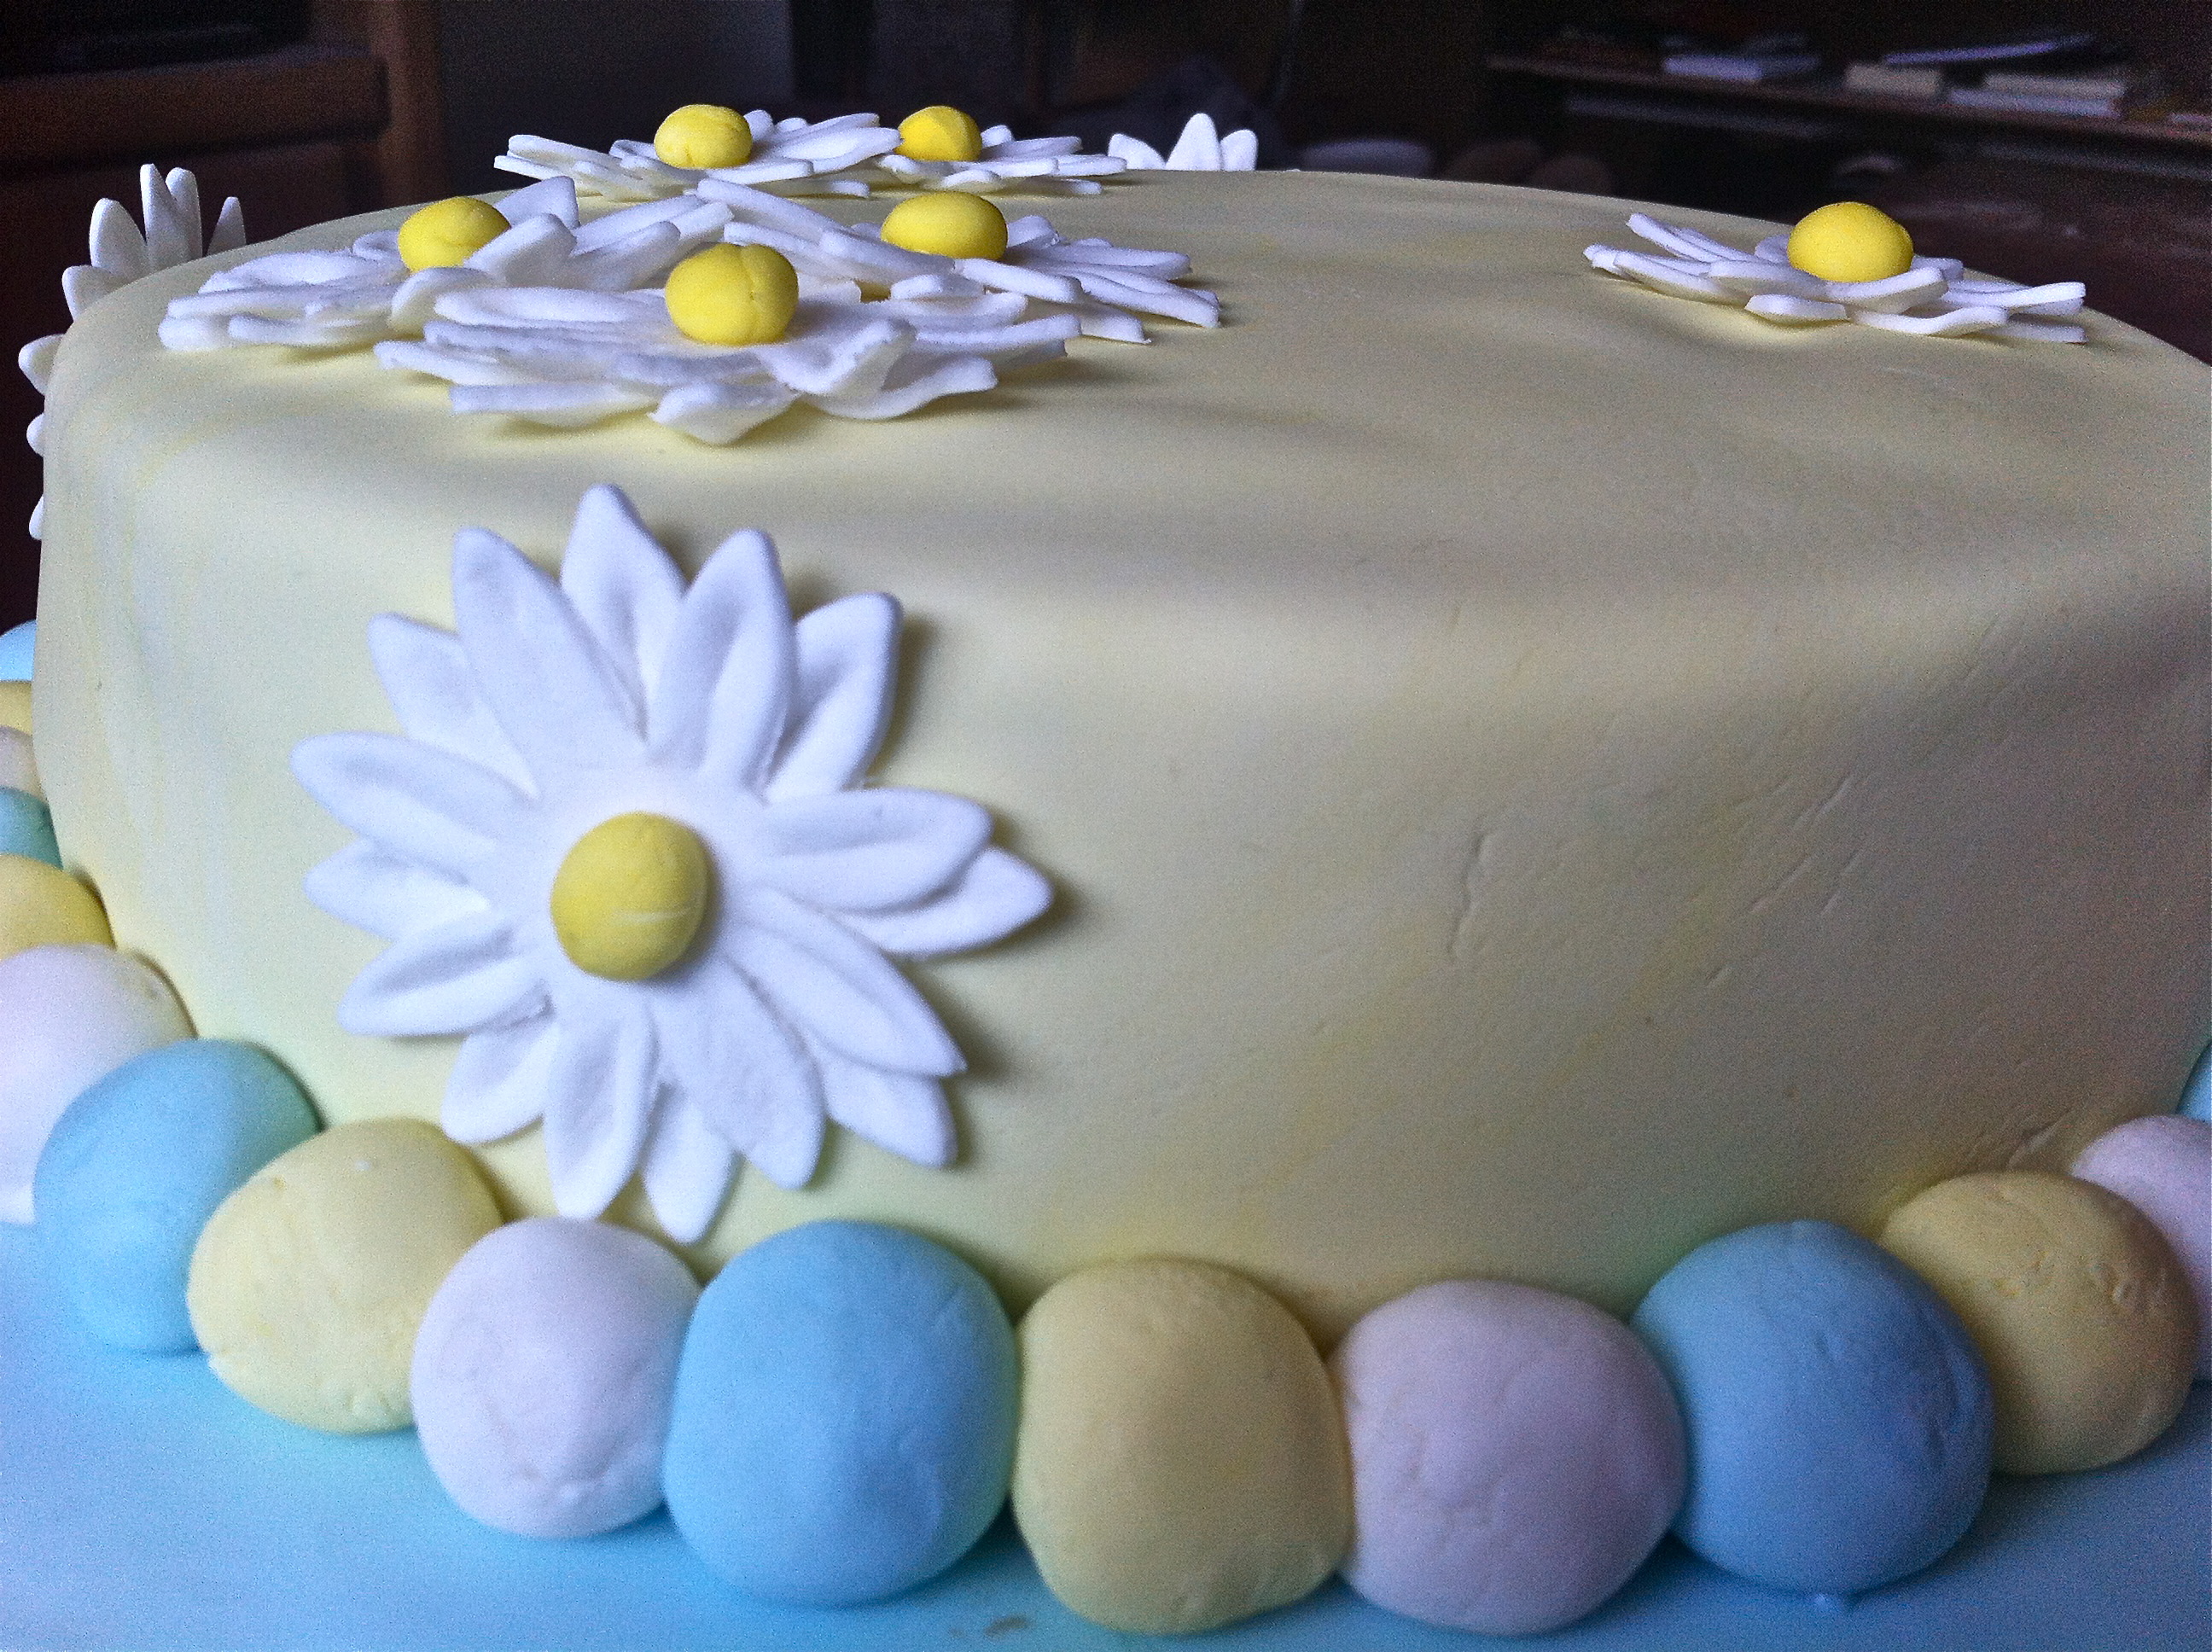
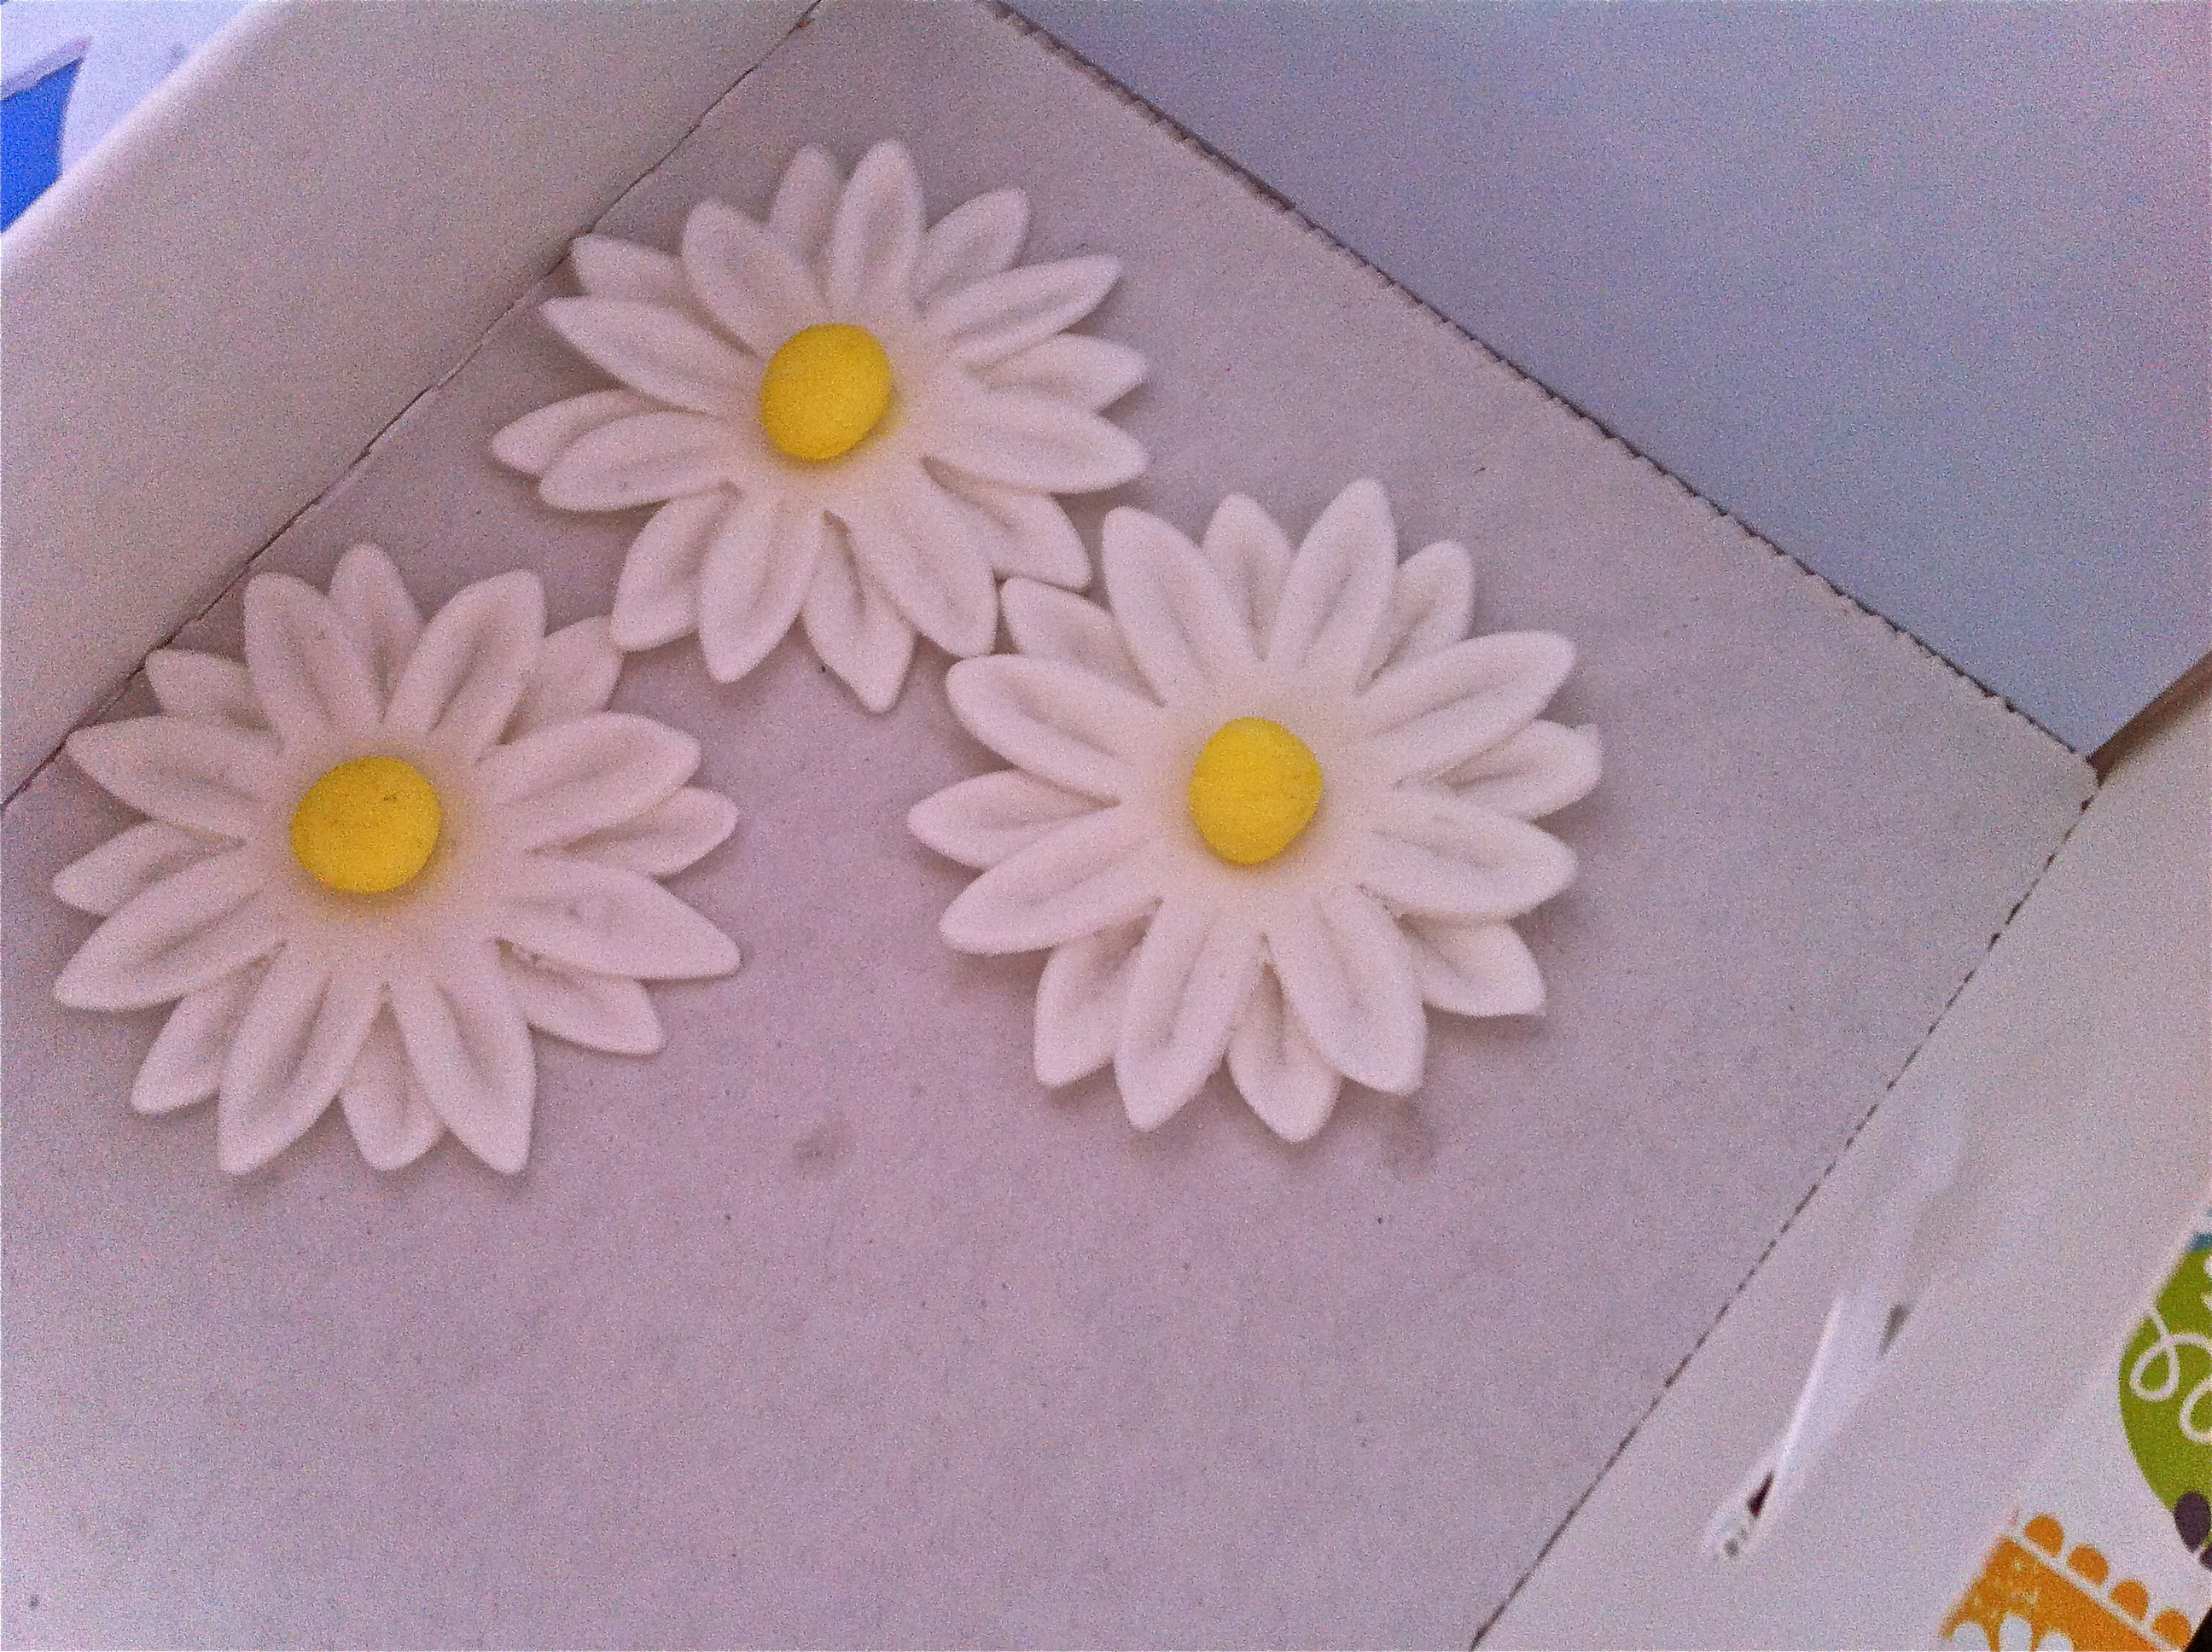 I loved the daisies! I really got the hang of pulling the gum paste to make the edges curl up and to indent the petals making them look more real. Plus these flowers were the most simple to complete out of all the flowers we learned. I just feel in love with these daisies! That is why I used them on my final cake! ;P
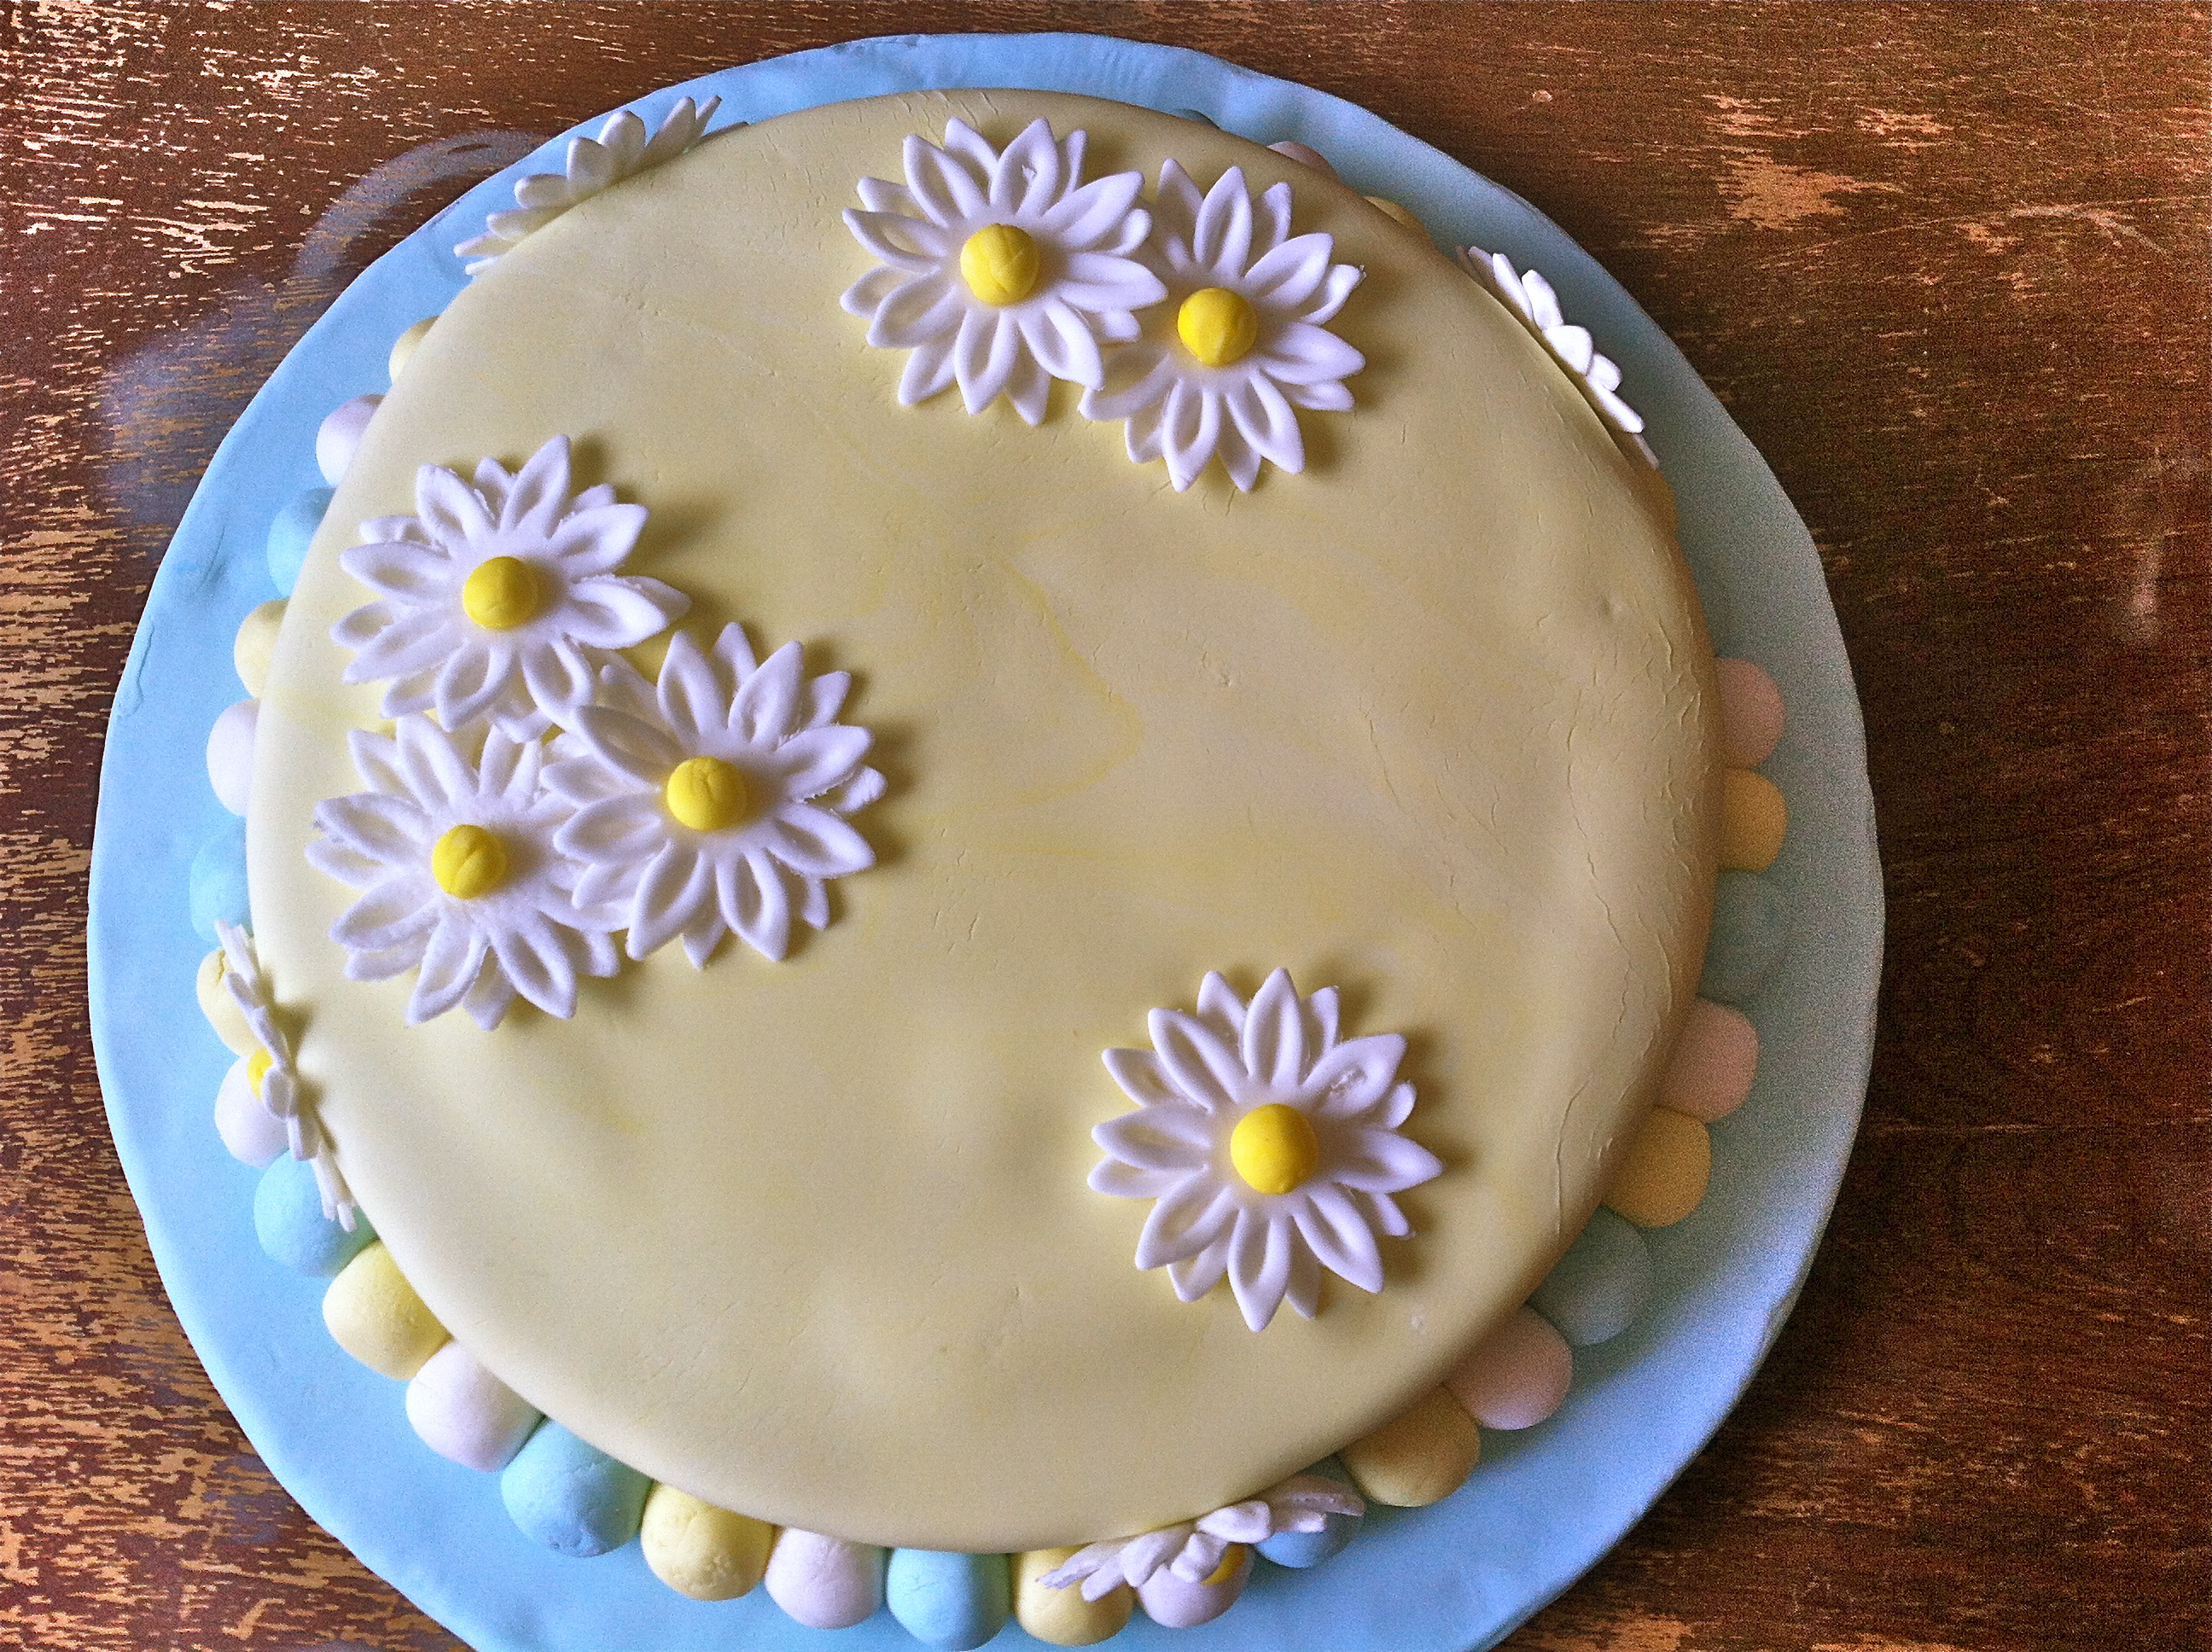 Here is my Wilton course three master piece! I love how it turned out. Especially since I came up with a rough plan right before class. Google can be your best friend. I looked up other daisy cakes and found inspiration for this cake. I really liked how it was all Spring feeling, just as the weather was turning nice here. I also think that this cake would make a great mother’s day cake, which you know is on May 12th. It’s just around the corner! I’m glad I took this course and know to make time for the fourth course: advanced gum paste flowers! I can’t wait to learn more!
Wilton Cake Course 2: Completed
During the month of February I took the second Wilton cake decorating course. Yesterday was the last day of class. I am kind of bummed that it is over since it was a lot fun! I just wanted to share with you all the creations that I made using what I learned in class:
Day 1: The Button Flower. The flower is made from a half gum paste, half fondant mixture. Then it is pressed into the flower shaper, and bam you have awesome flowers!

Day 3: We learned how to make several royal icing flowers. I really liked the daffodils and the roses. I used them on this cake I made for my sister’s birthday! I am so pleased with how great this cake looks!

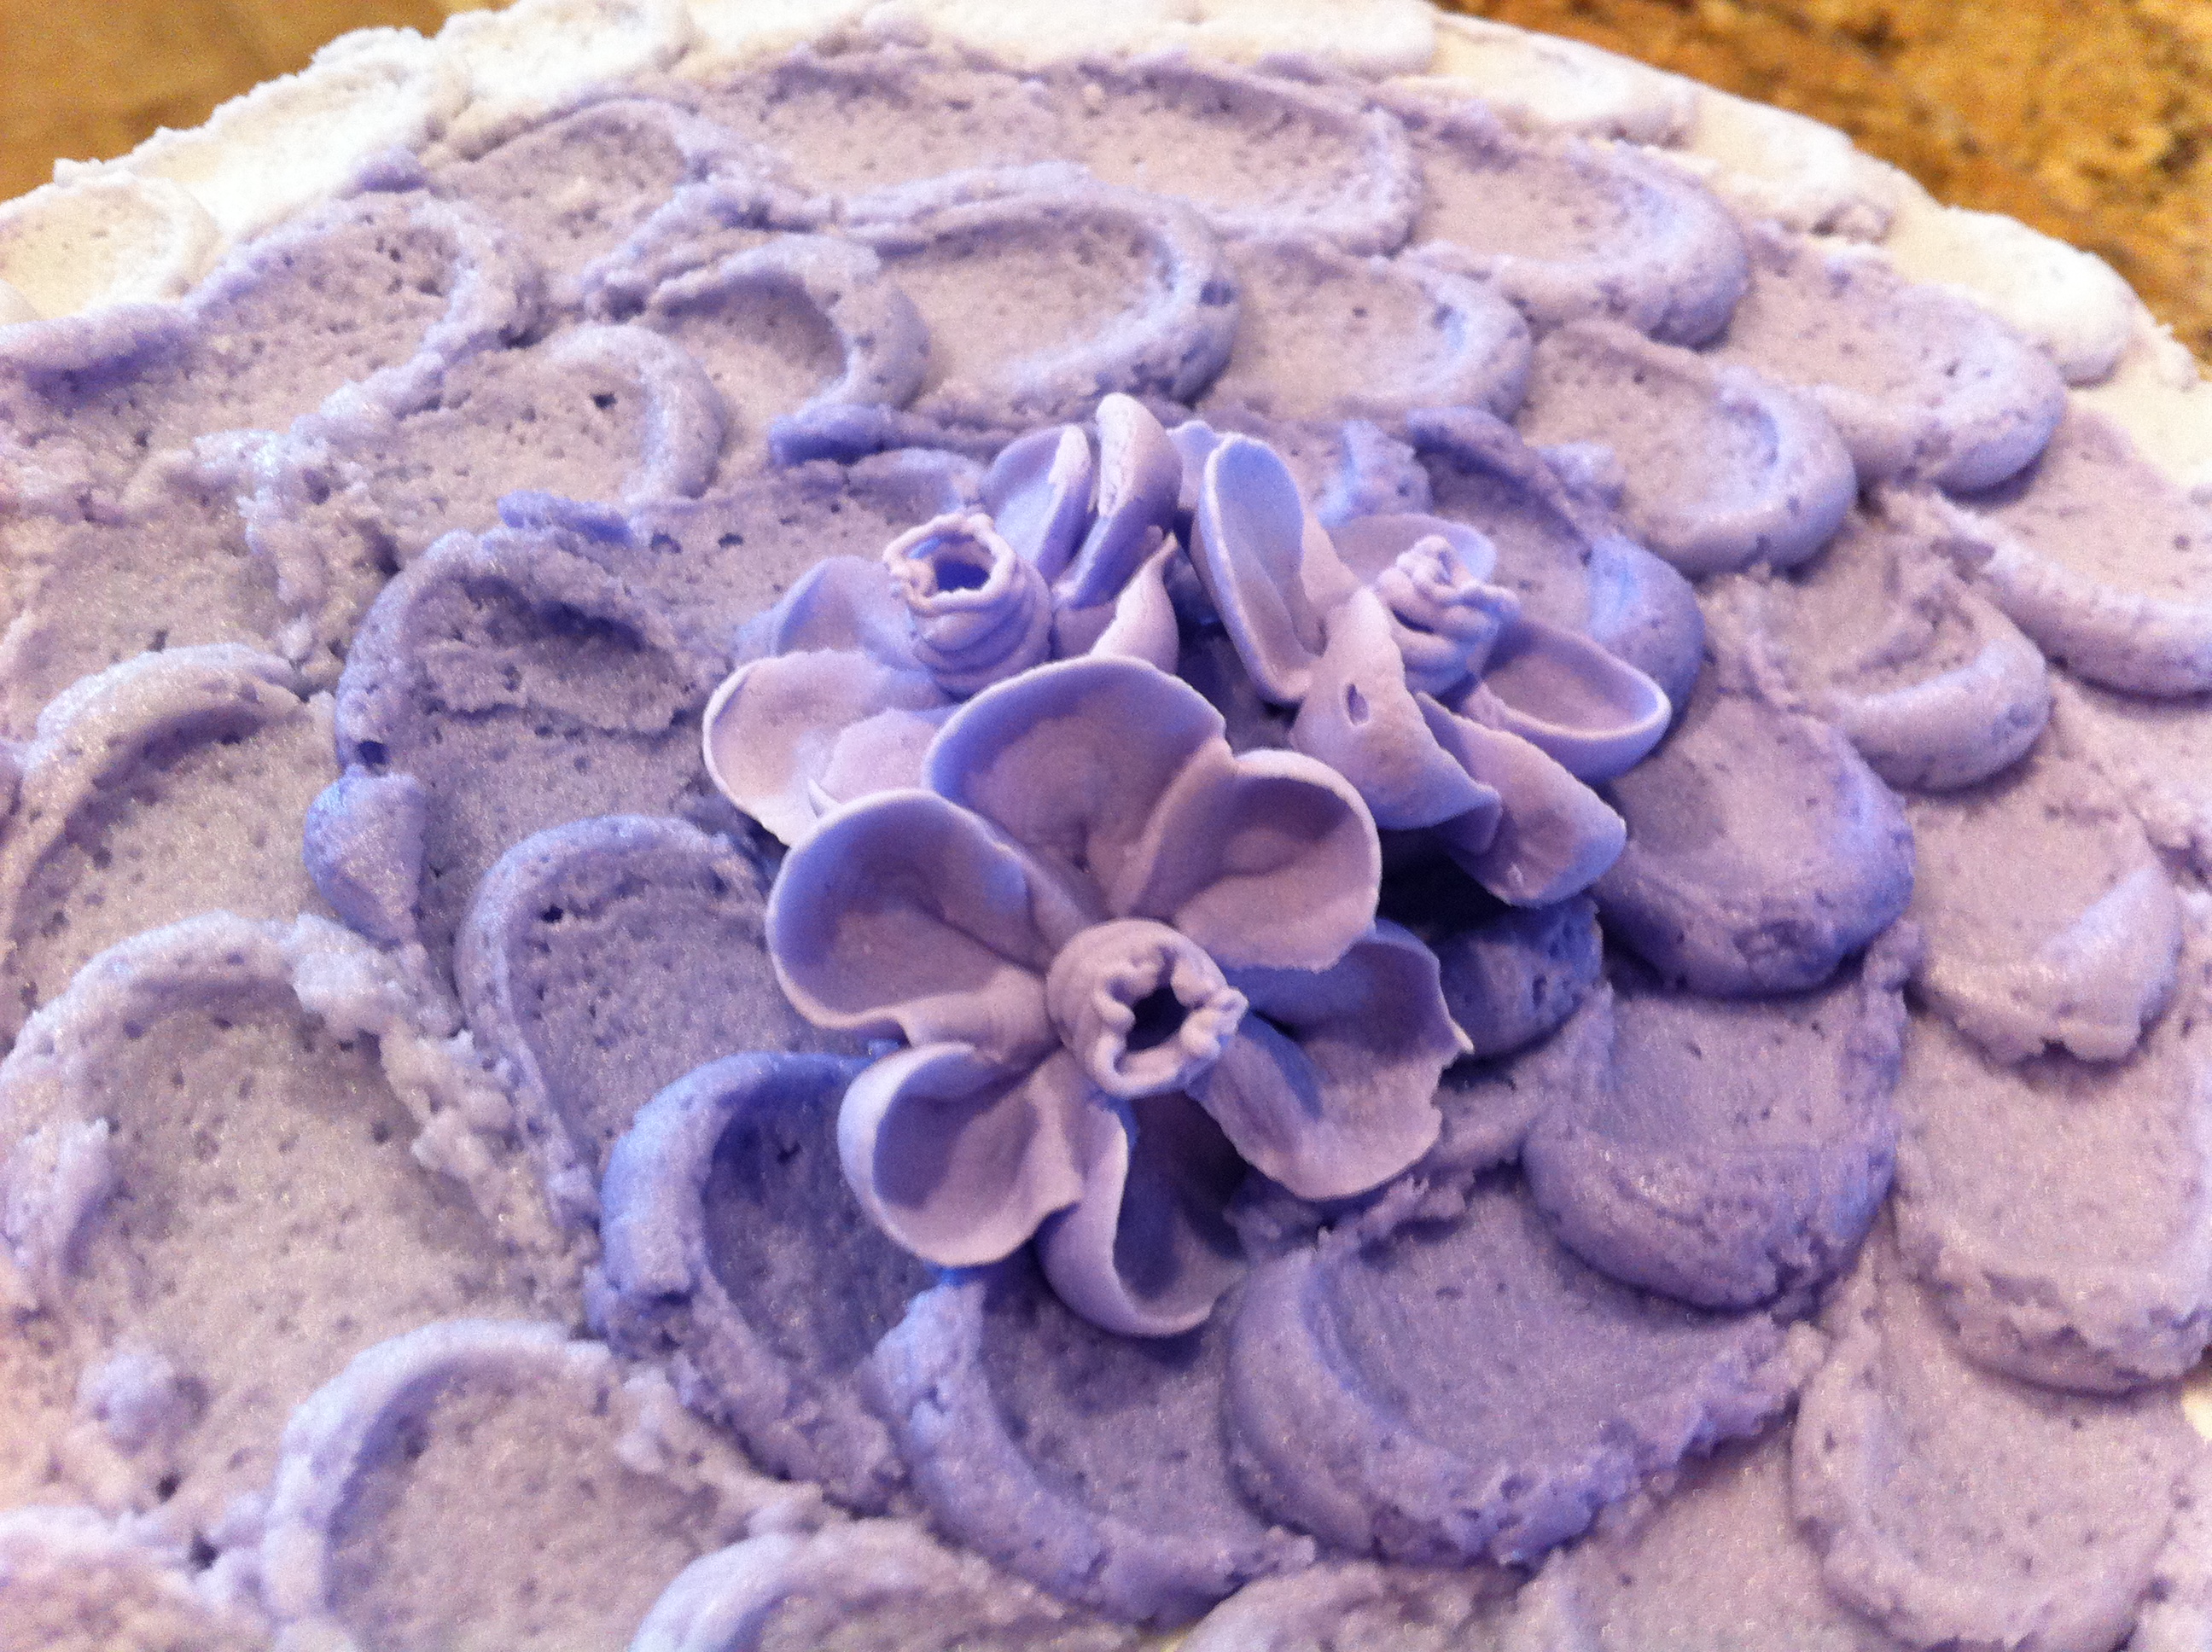
Day 4: On the final day we learned how to do a reverse shell border and the basket weave. I didn’t use the reverse shell on this cake. I also used my royal icing lilies that I learned on day 3 on this cake. This cake is a larger version of what I had originally planned. I wanted to make two small cakes with three lilies on top of each with the basket weave around the sides. My small cakes did not turn out and so I made the larger cake. This cake still looks great, but it is always sad when your first idea has to be scratched.

I hope to take the third Wilton decorating course soon and share more wonderful creations. For now I hope to keep using what I learned and make some more beautiful cakes and cupcakes!
Mini Cakes
I bought Wilton‘s mini cake pan set and finally got around to making some cakes with them. I also recently bought some stencils at Michael’s for $1 a piece. So I wanted to share with you all the final result of my purchases.


On to the cakes! I ended up making three cakes total. I would have ended up with four if I had remembered to grease the pans on the second batch. 😀 I originally thought I was only going to get two cakes, but the pans are smaller than I thought. I did chocolate cakes with chocolate mousse as the filling. For the frosting I used Wilton’s basic butter cream frosting, used raspberry extract instead of vanilla.

Chocolate Mousse:
1 Package Chocolate Pudding Mix
1 Package Cool Whip
Directions:
1. Make pudding according to package directions.
2. Add in cool whip until you reach the mousse consistency that you want.
- I only used 1/2 of the cool whip for the mousse that filled the cake.

For this cake I wanted to try the rose cake method that I originally saw on I am Baker‘s blog.

For this cake I make a gauche for the top. Then I used a heart stencil. It did not turn out quite like I was anticipating. This could be due to the powdered sugar not being sifted before I tried to use it on the stencil. To make the gauche that I used on these cakes, I melted chocolate and added some milk. While it turned out tasty, I would not use that recipe again because it is not the best gauche I have ever used.

This cake’s stencil turned out worse than the other one, again due to not sifting the powered sugar first and the gauche still being warm enough to start dissolving the powdered sugar.
I still really enjoyed making these cakes and using the stencils! I cannot wait to make more cakes with these pans and stencils!
