Category Archives: How To and Tips
Wilton Course Three Completed!
During the month of April I took the third Wilton cake decorating course. This course is all about gum paste and fondant. Well mostly gum paste. I learned a lot. I like to watch those cooking shows like Ace of Cakes or Cake Boss and I always wanted to know how they made their flowers. They looked so real! Well now I know how to make some of them and have the knowledge to learn how to make others. This class was really exciting for me.
I have only used fondant a couple of times and had never used gum paste. Usually I just ice the cake and do some piping. After this course I feel that I can expand my cake decorating! Here are some of the techniques and flowers I learned.
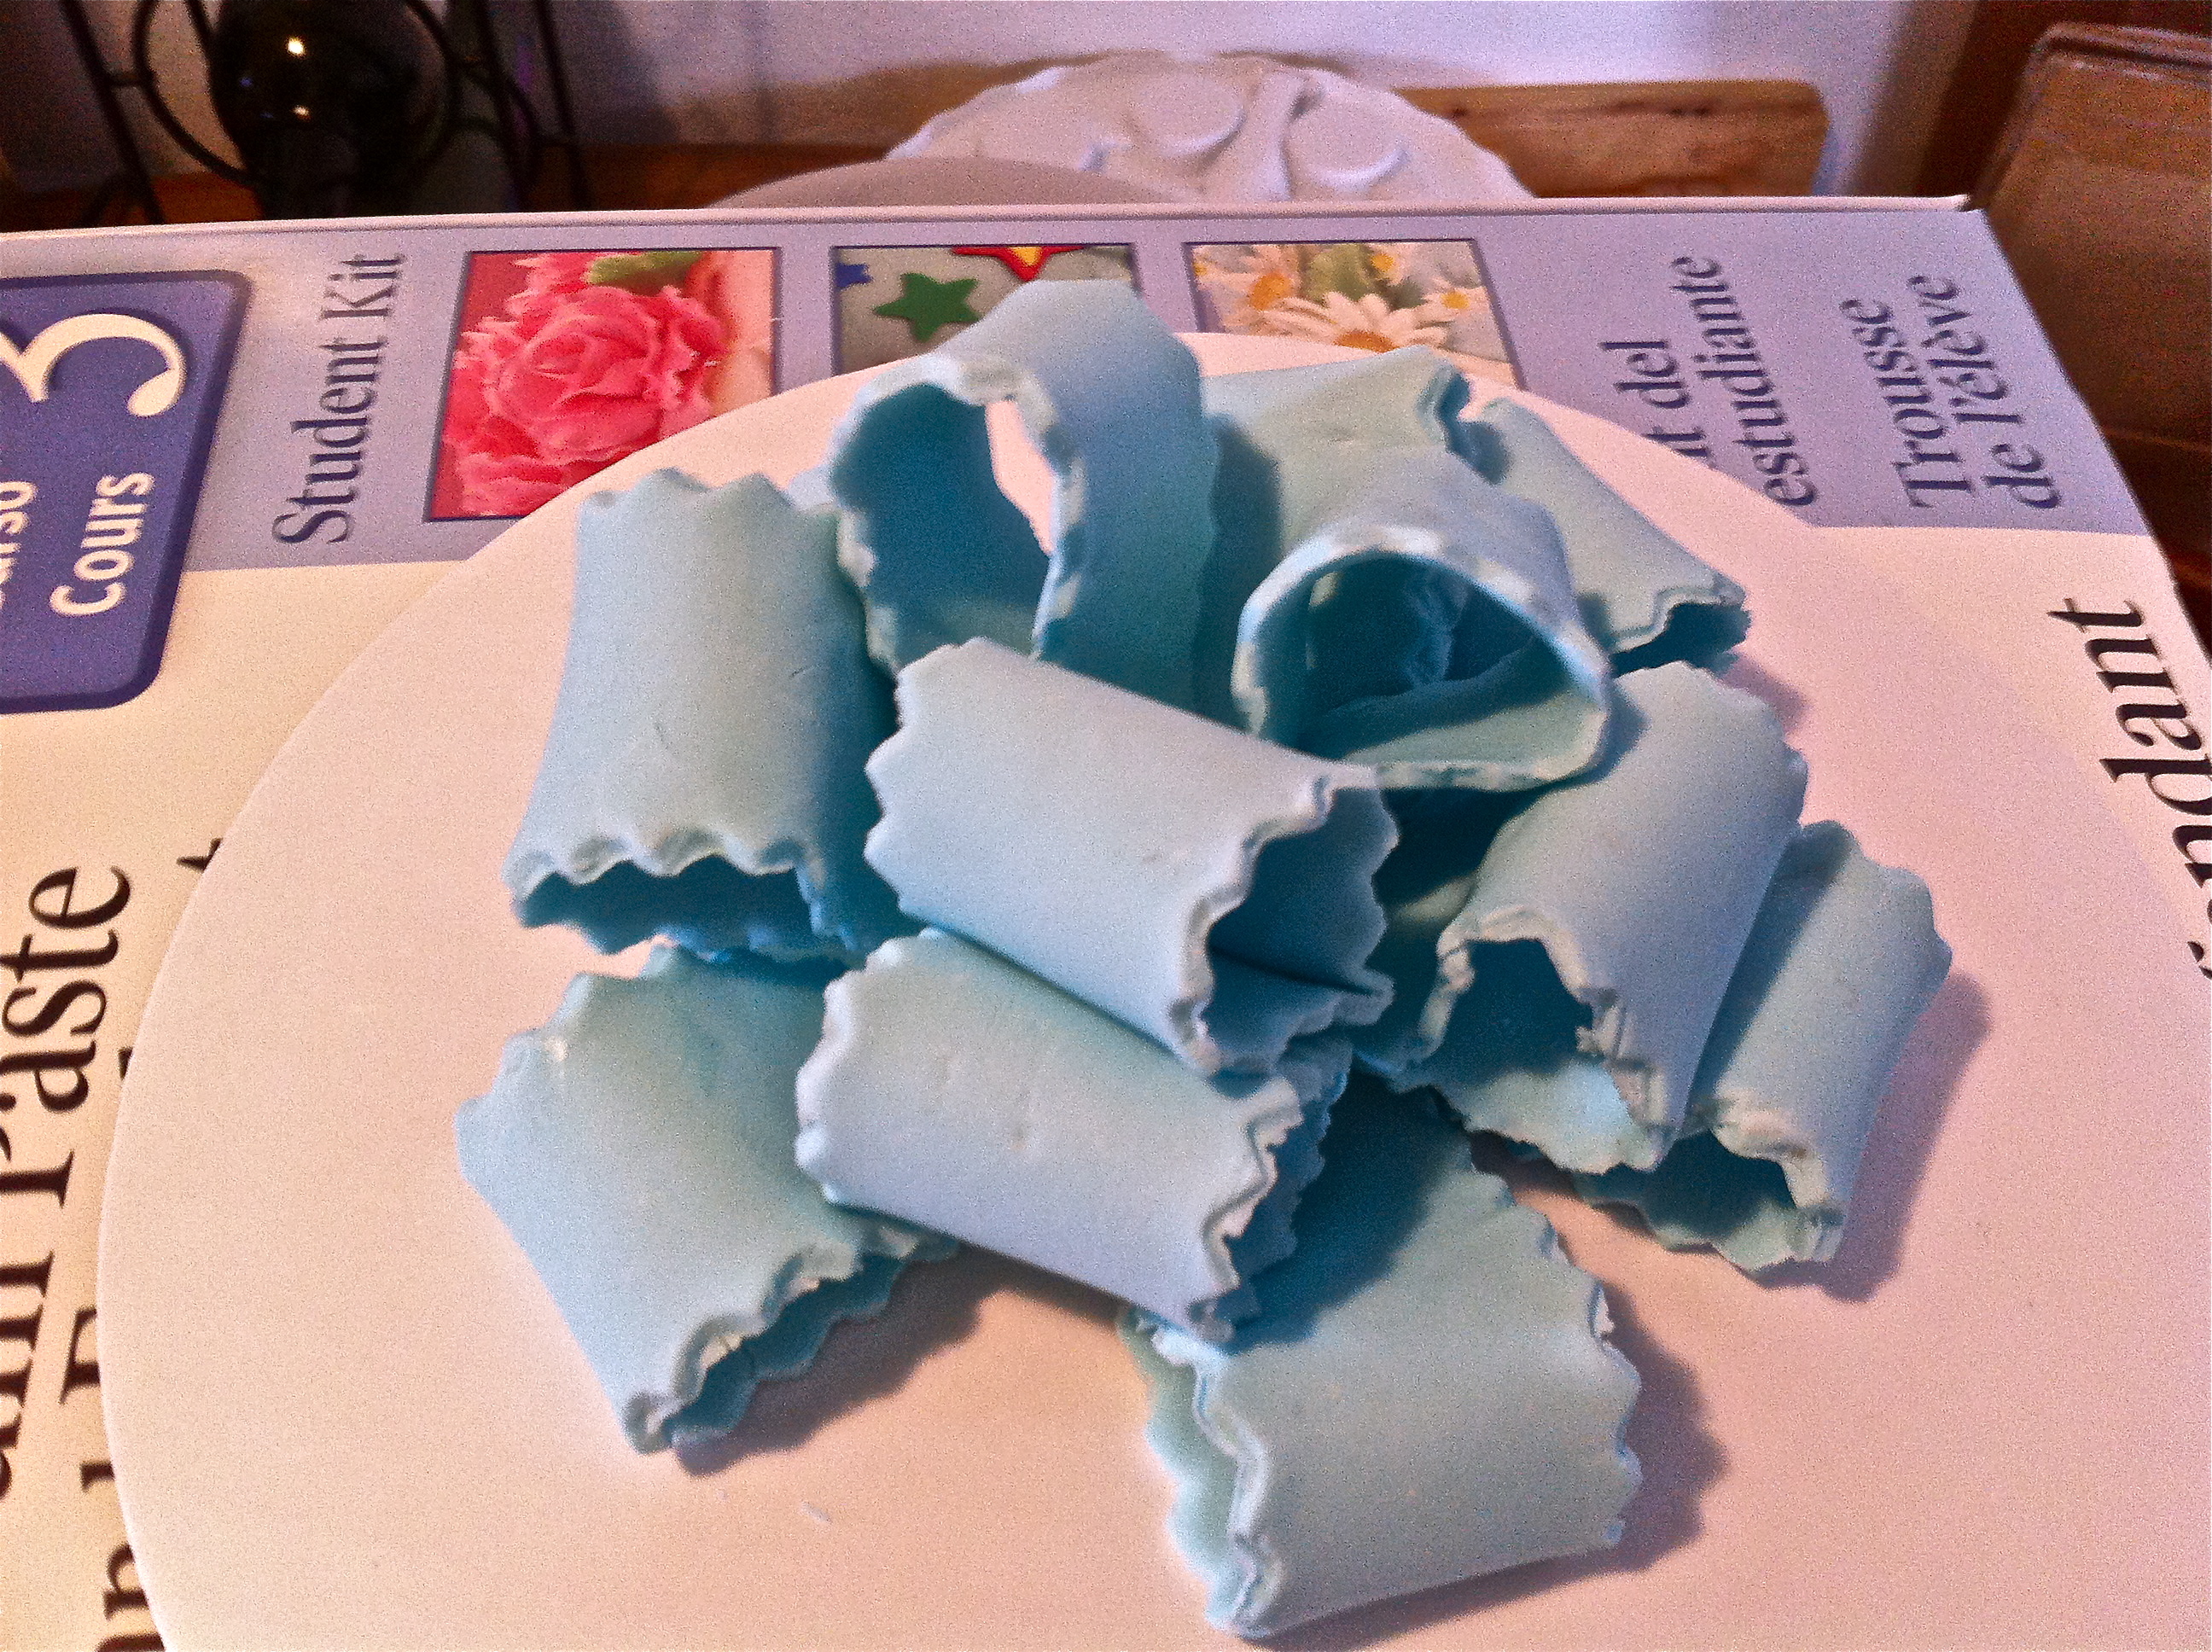
Let me just say, buying the course three kit was such a good investment for me. I already had most of the tools, but there were a couple I didn’t have. Like the ribbon cutter. Now I have one, along with some hard to find shape/cookie cutters!
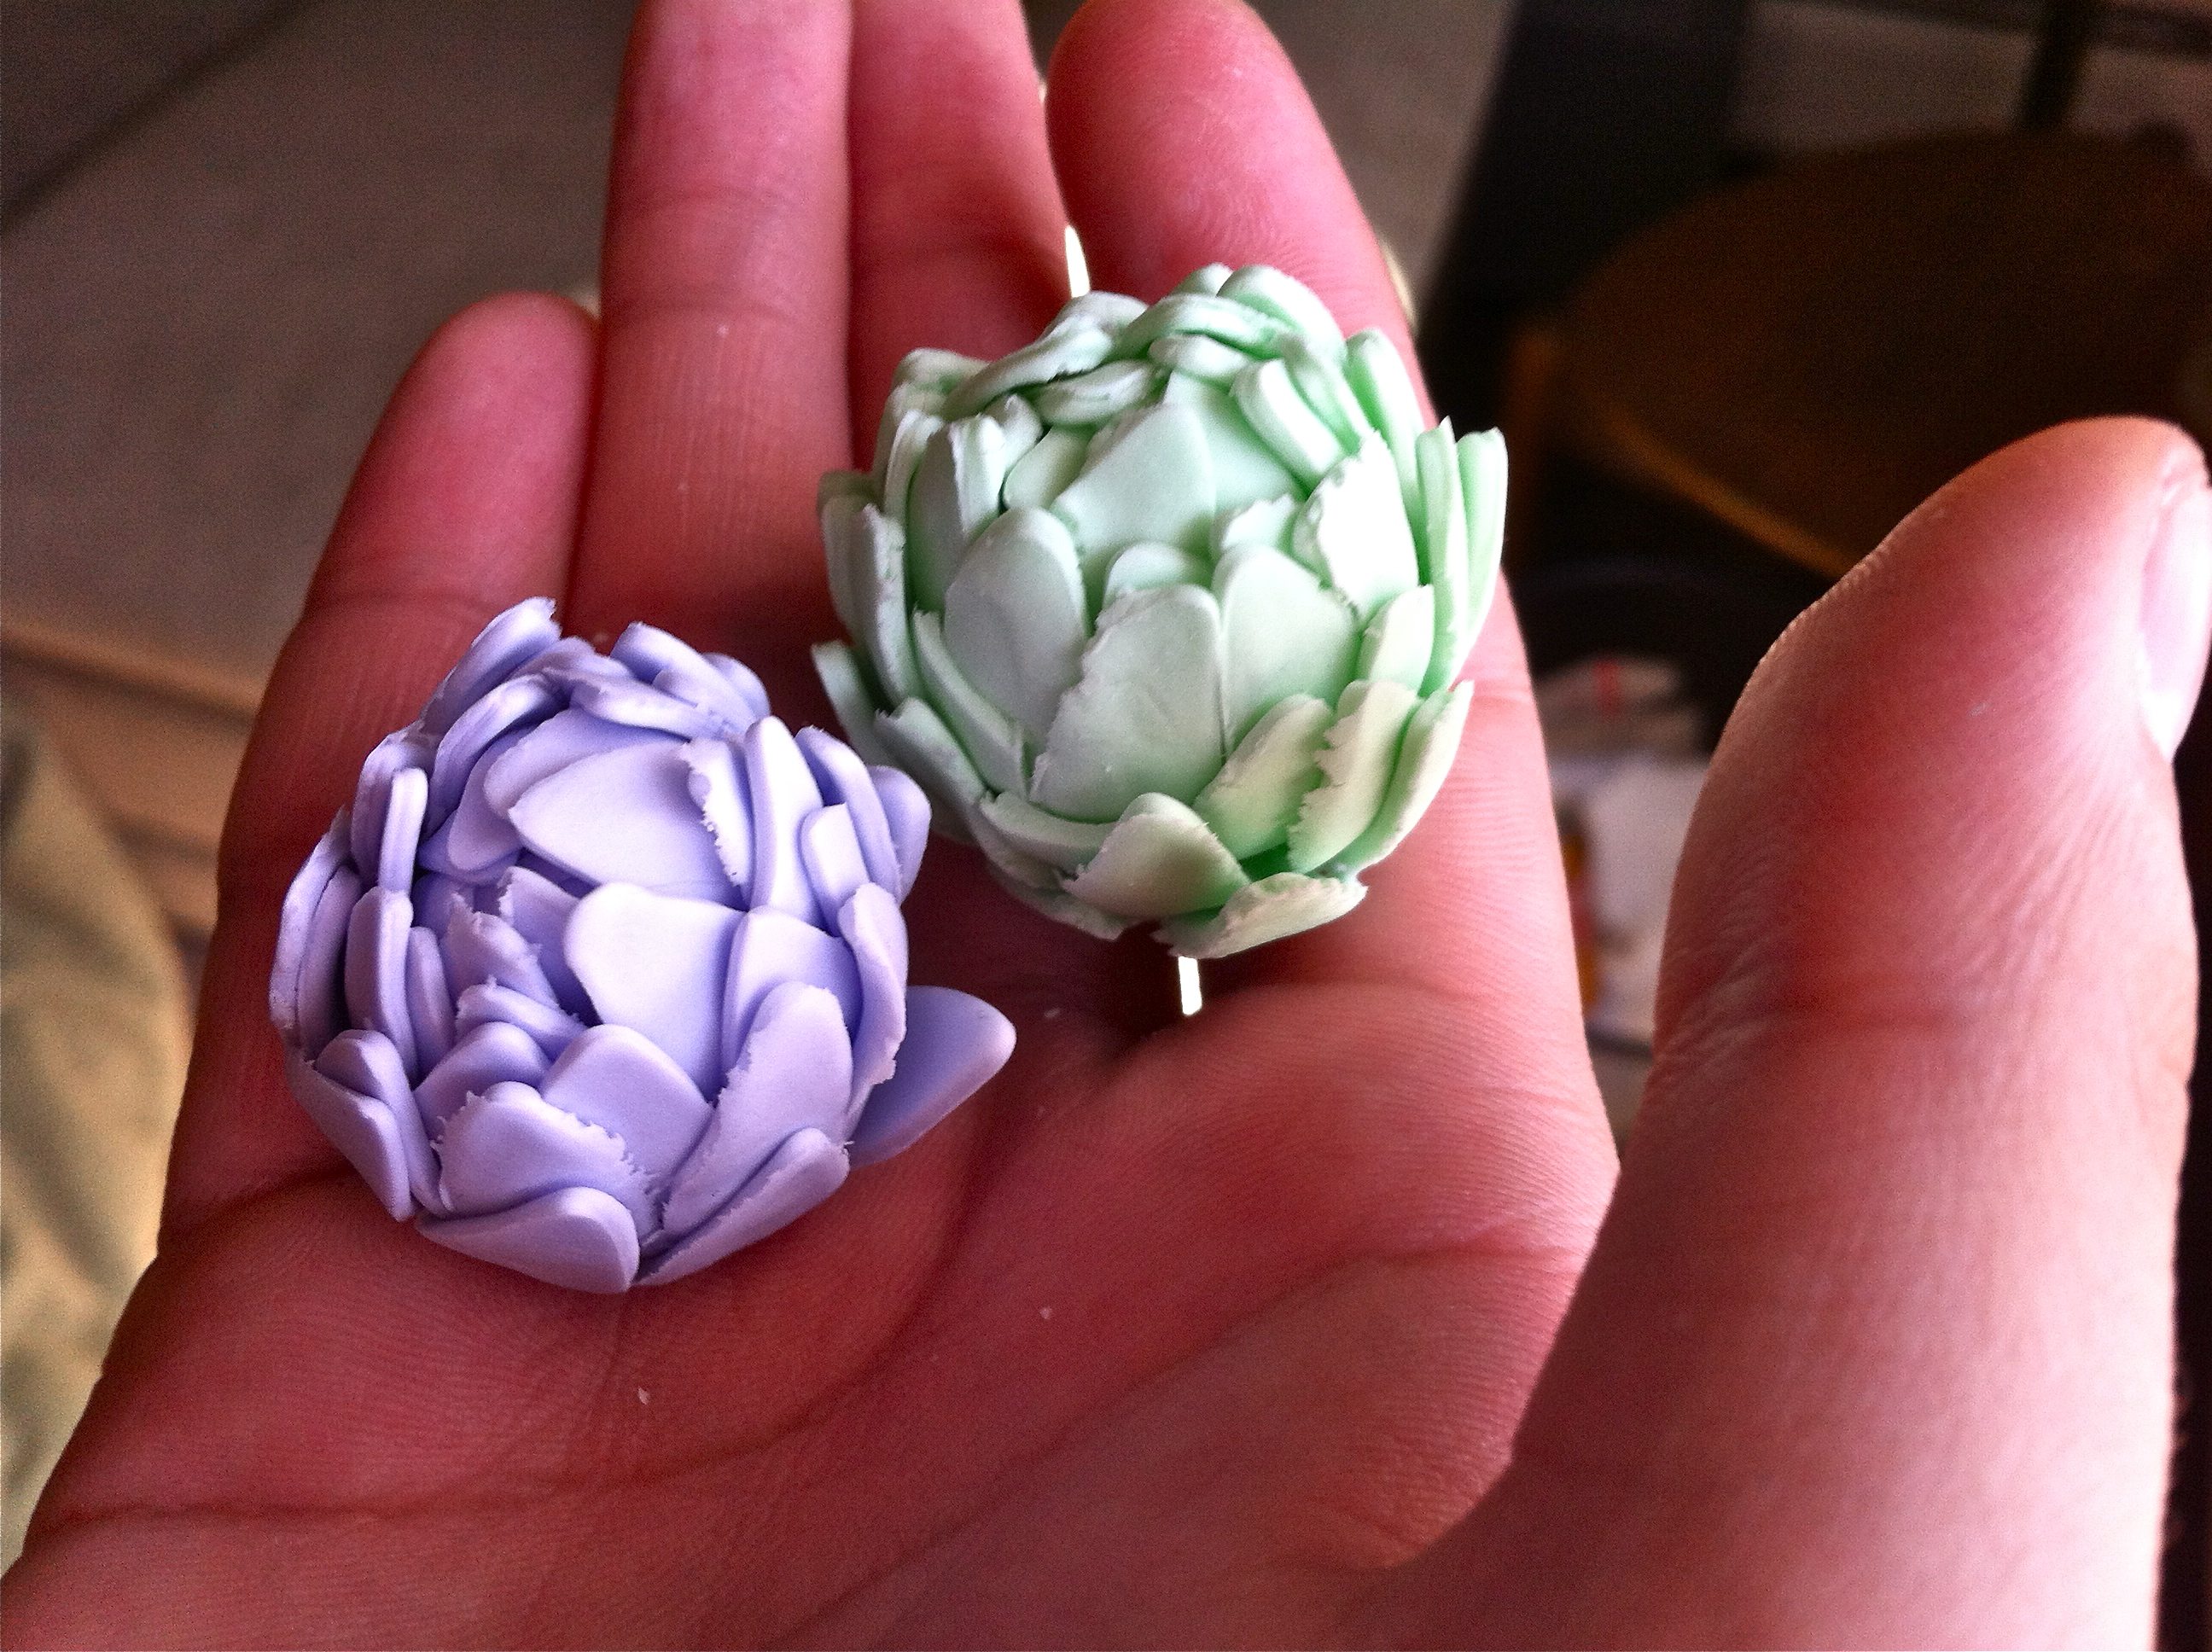
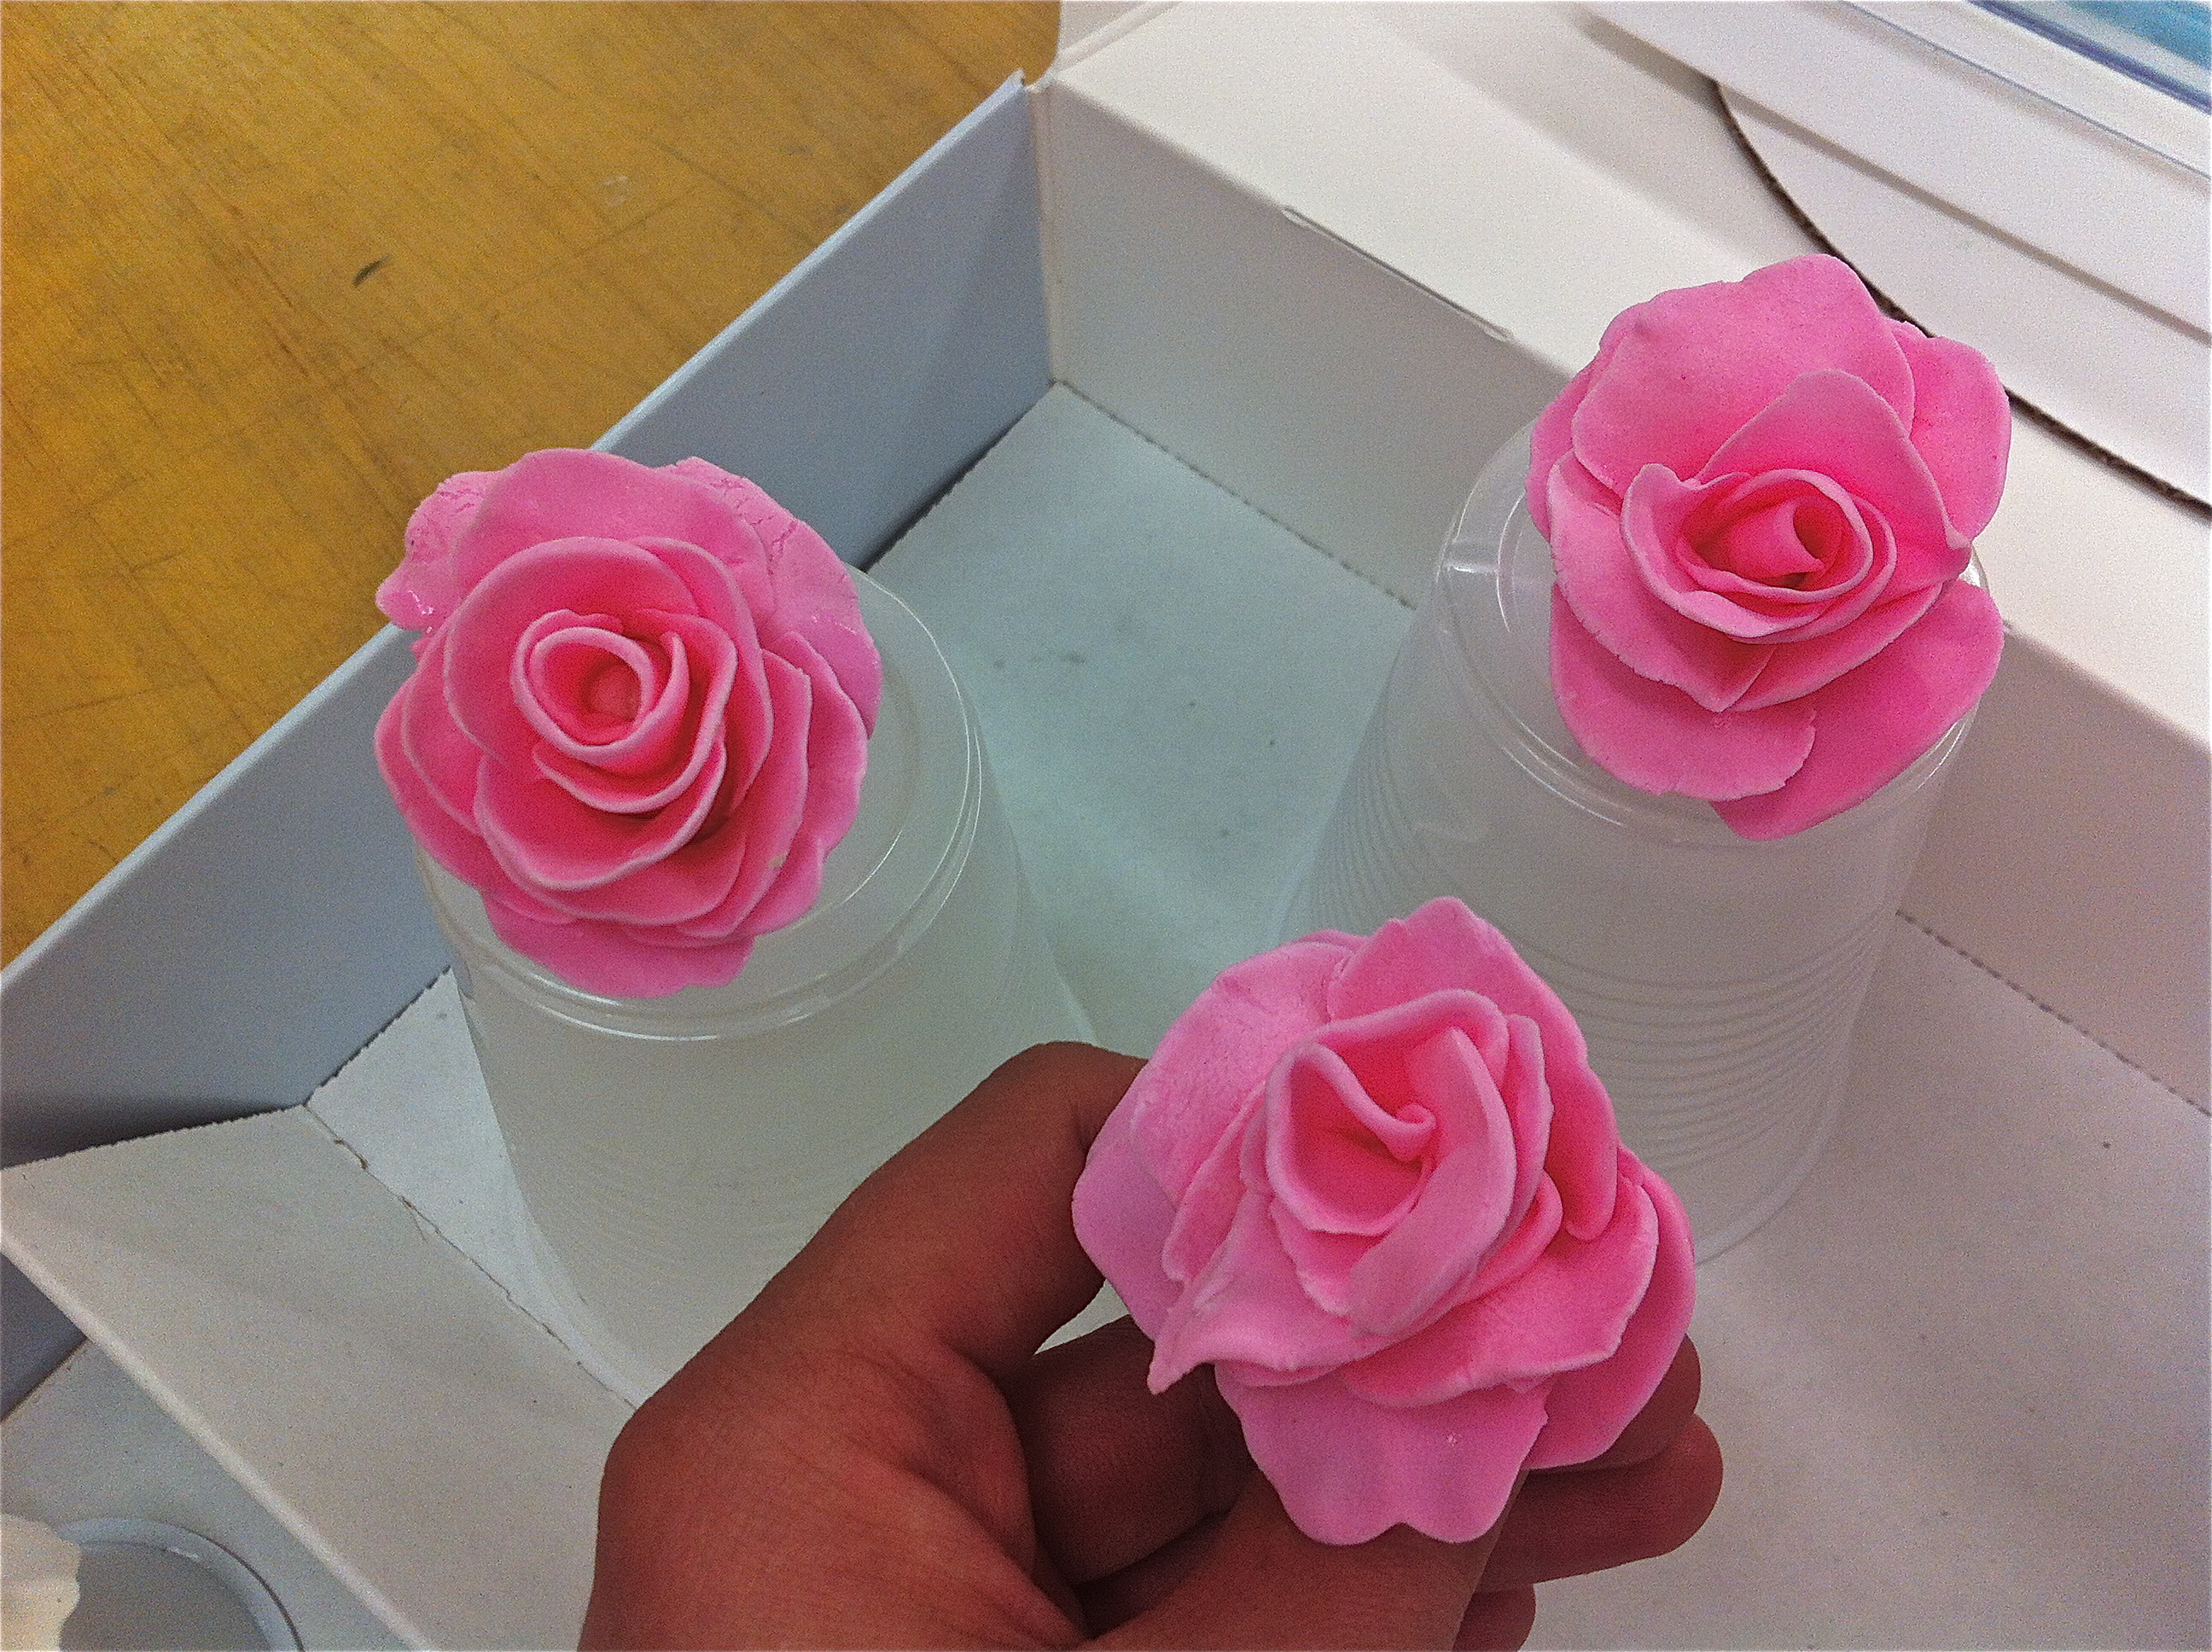 My favorite of these roses is the most right rose. I like how open it is. I think it is the most real looking flower of the bunch. The only problem I had with using gum paste is that you can’t eat it. I know a lot of people who like to eat the decorations on their cake. It’s a bit awkward I think to tell someone they can’t eat the flowers on the cake, when most commercial cakes you can eat the flowers (usually they are icing).
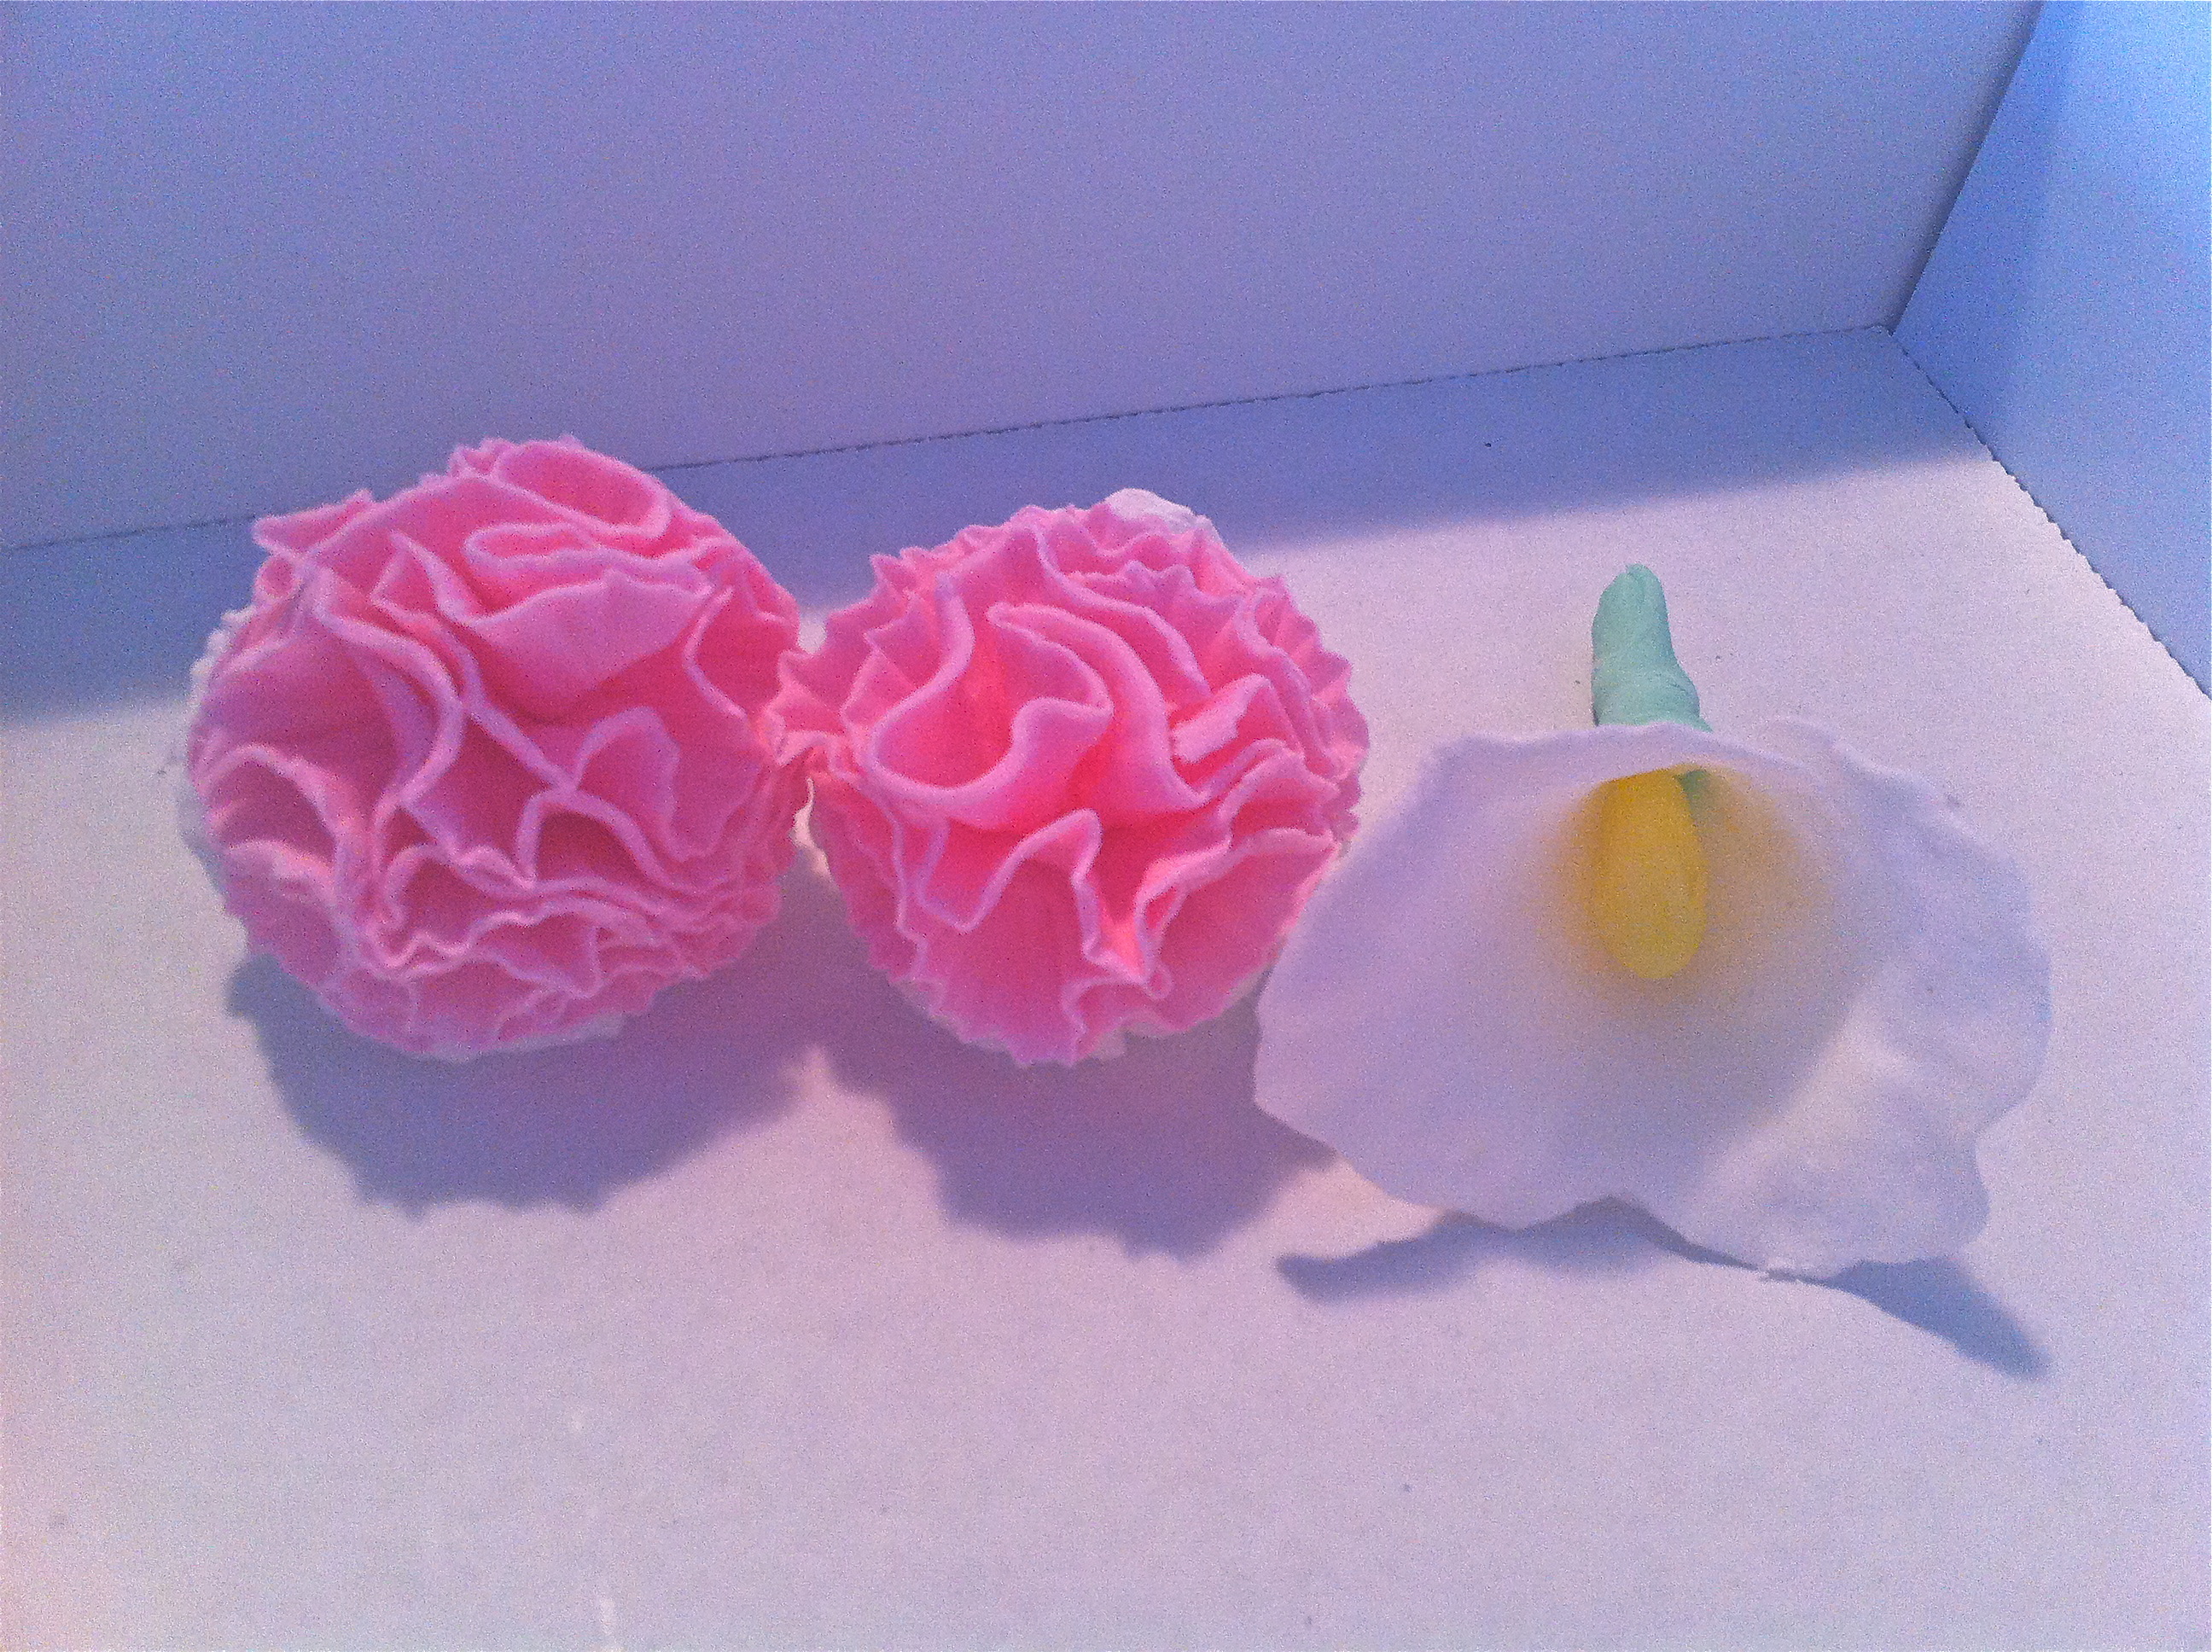 I really liked how my carnations came out. They were so pretty! Too bad I didn’t have something to put them on. The lily came out pretty well too, but I need to practice pulling the edges. I think I made the edges a little to thin and they didn’t really ripple like I had hoped.
 So I learned how to make Mums. What the heck are Mums? I don’t think I have ever seen them in real life. I struggled a bit with these flowers because I kept snapping the stick (spaghetti can be so fragile). I did like how they came out, but I am not sure I will ever actually use this flower on a cake.
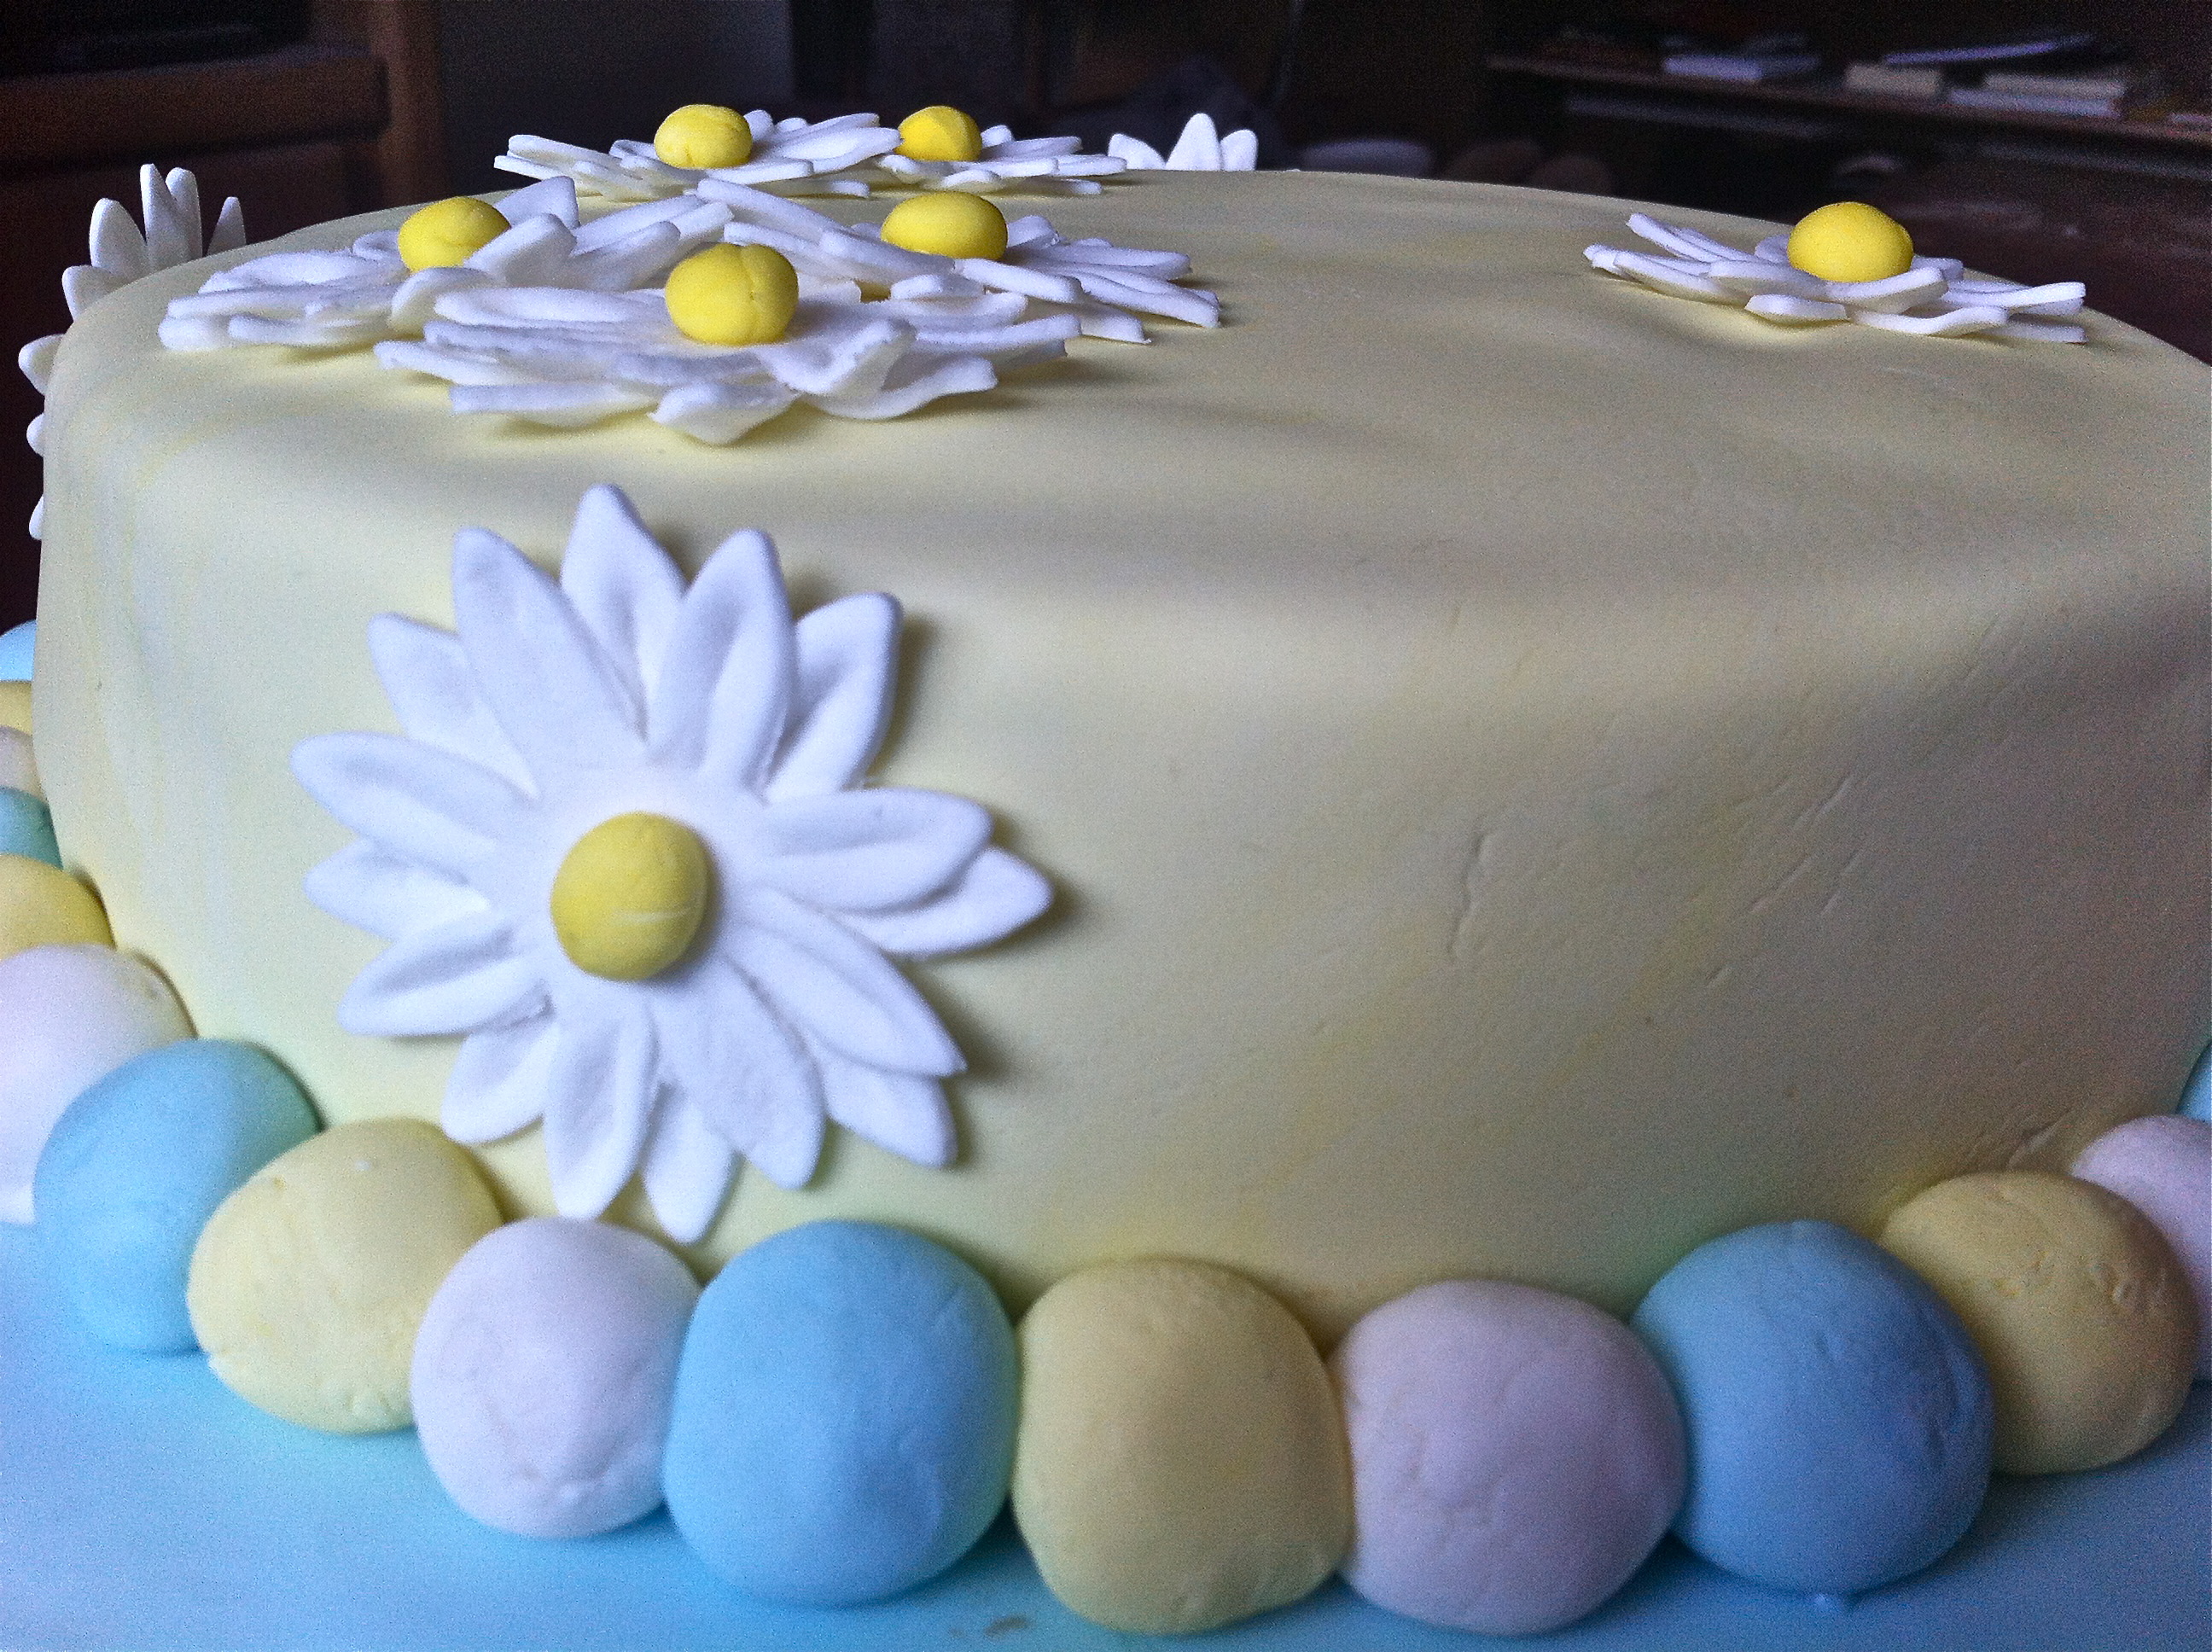
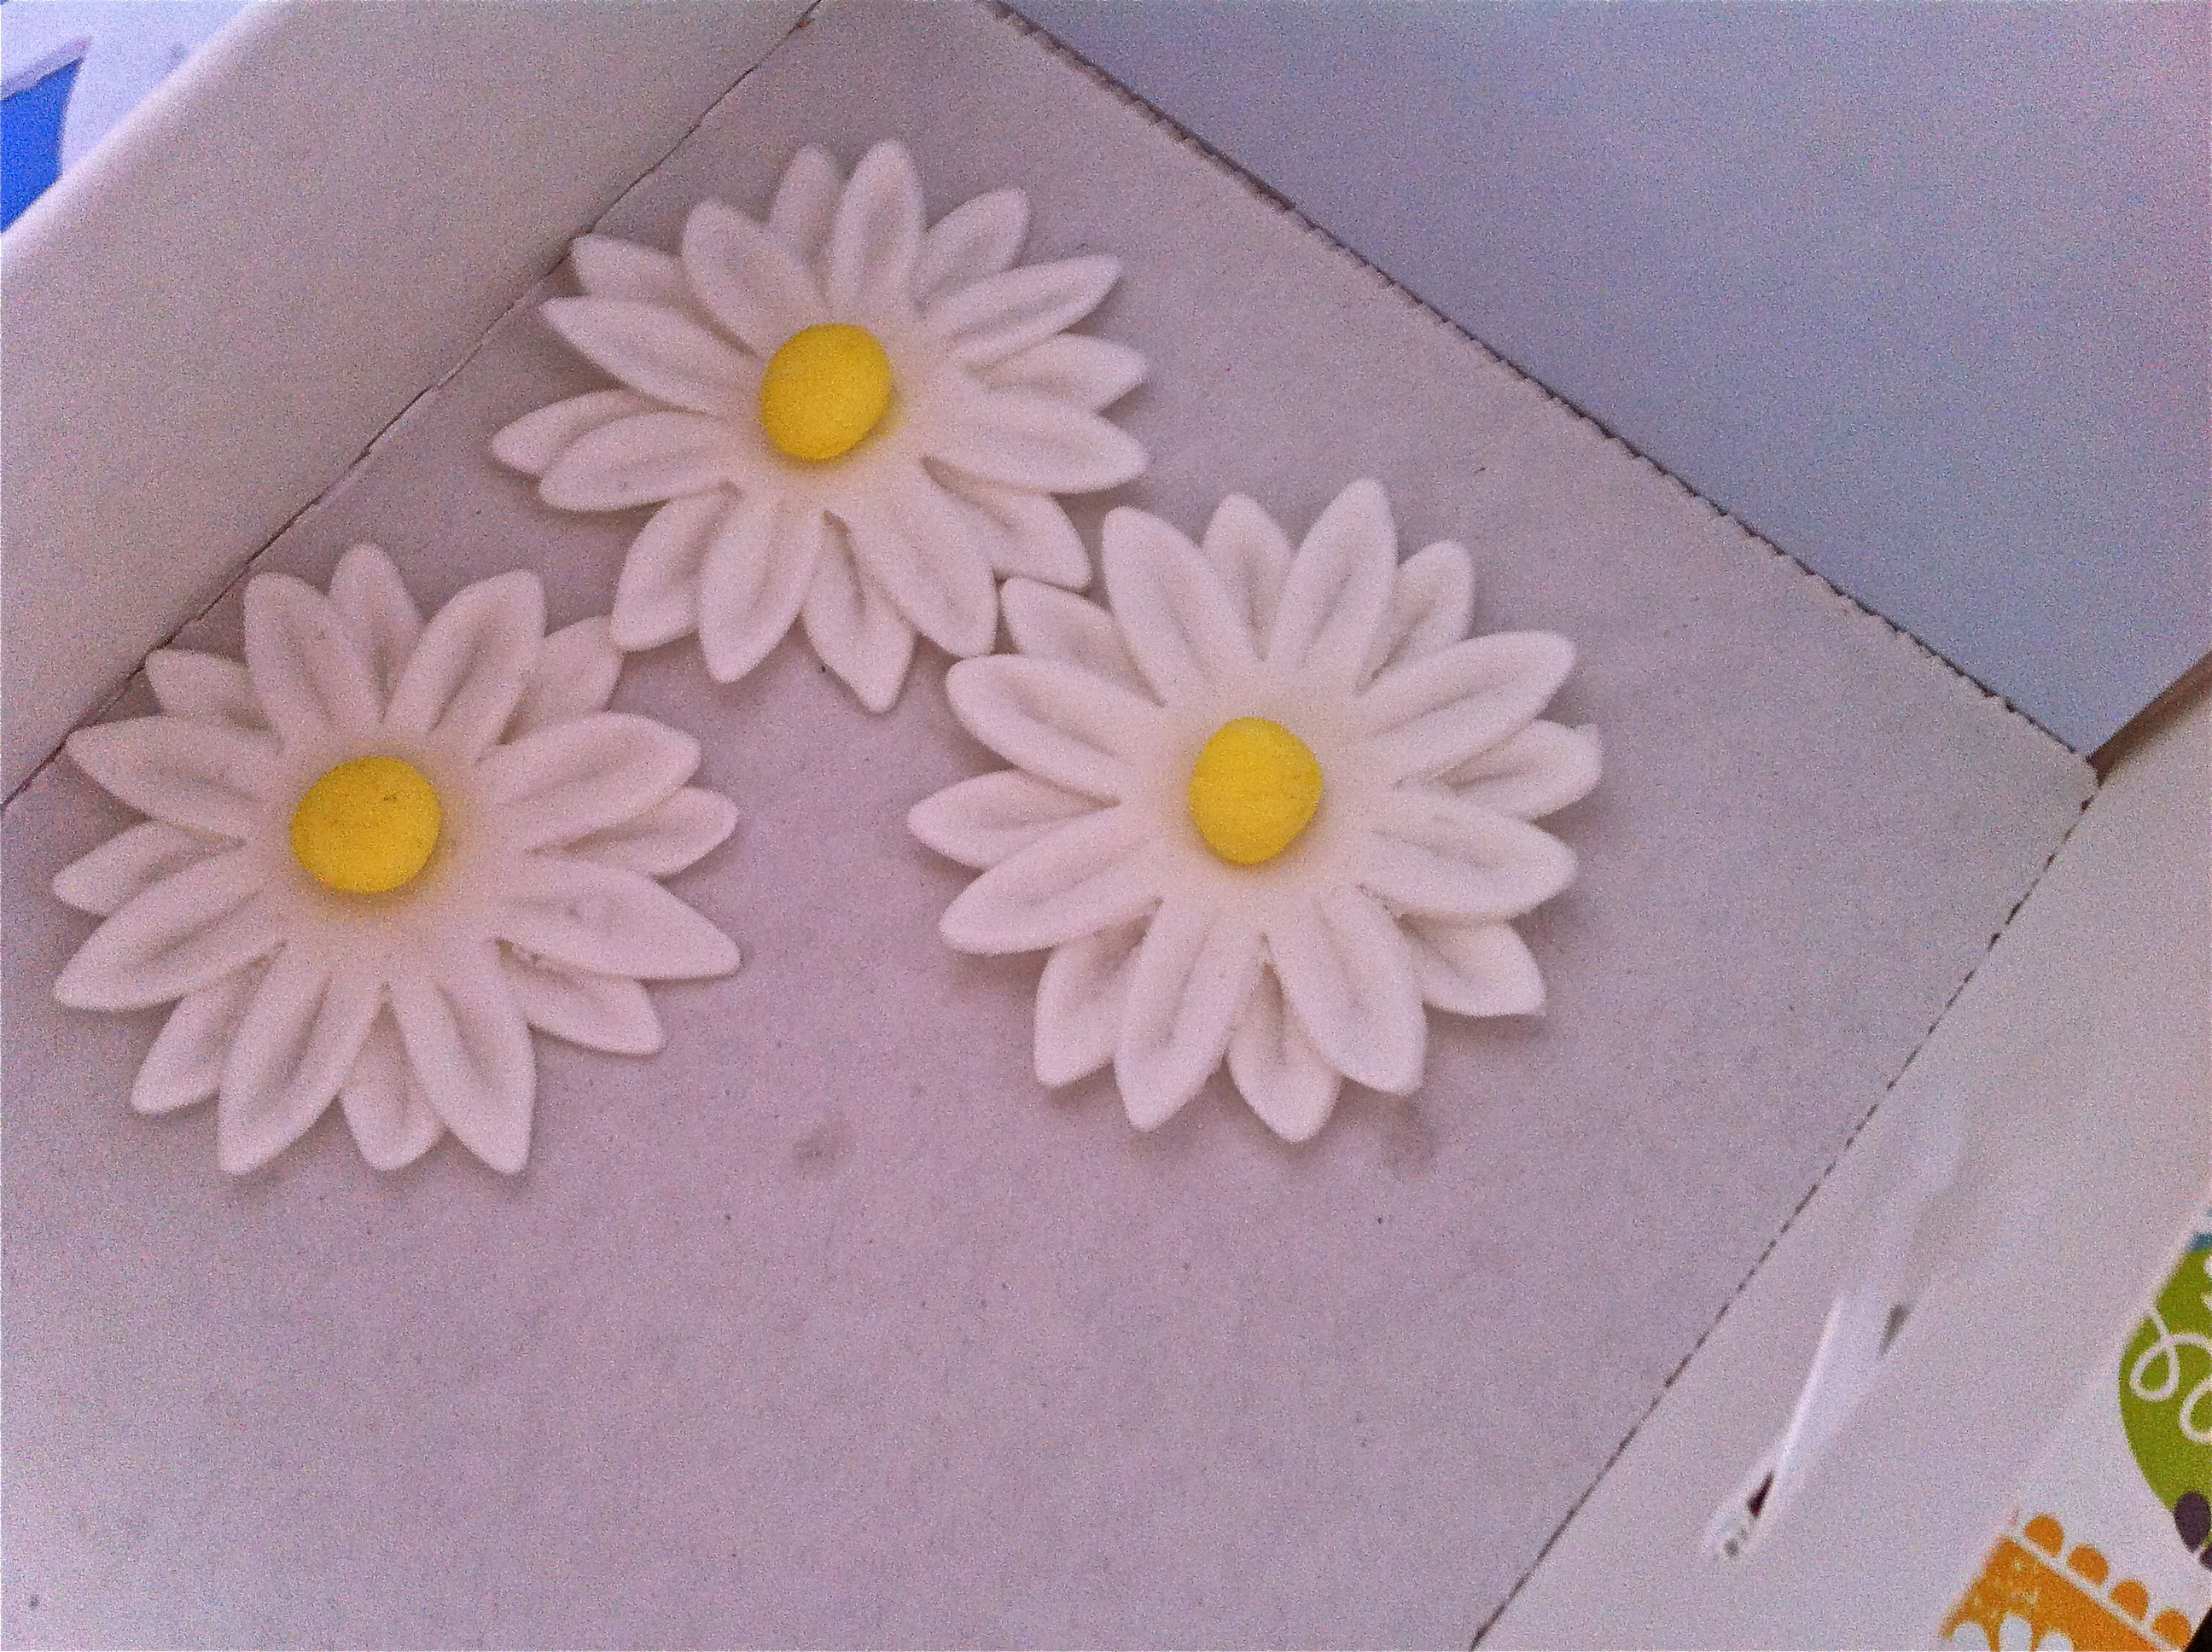 I loved the daisies! I really got the hang of pulling the gum paste to make the edges curl up and to indent the petals making them look more real. Plus these flowers were the most simple to complete out of all the flowers we learned. I just feel in love with these daisies! That is why I used them on my final cake! ;P
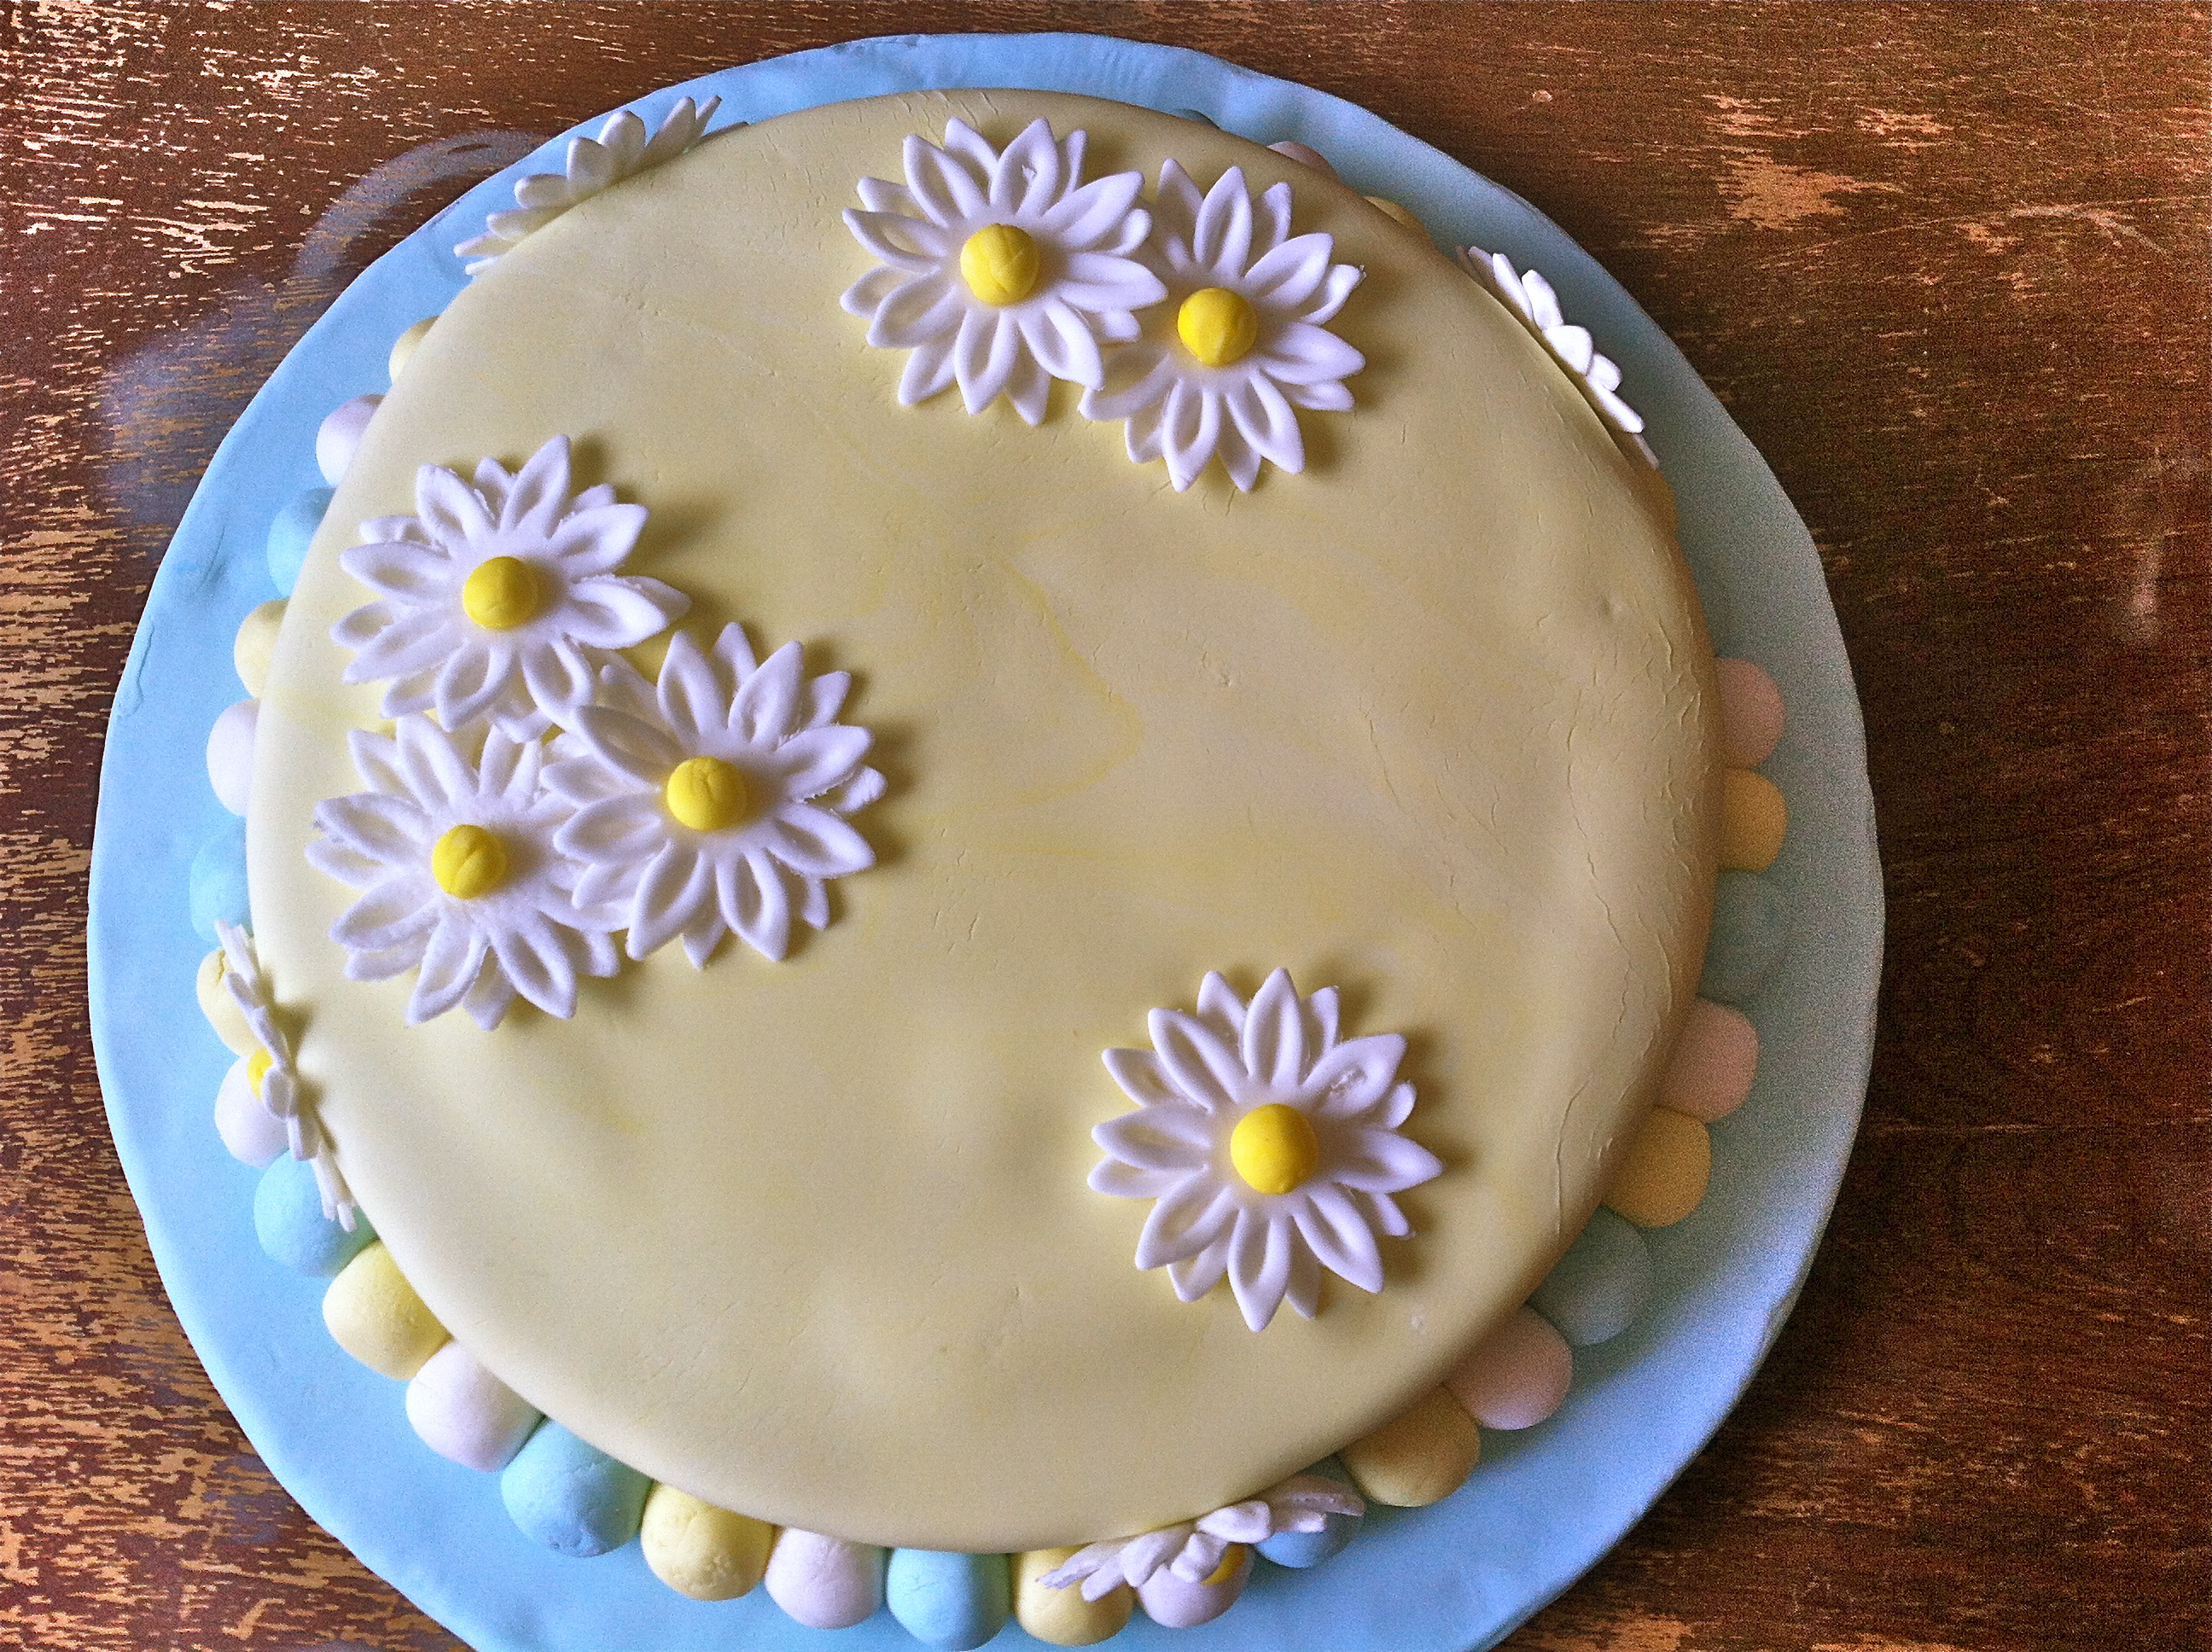 Here is my Wilton course three master piece! I love how it turned out. Especially since I came up with a rough plan right before class. Google can be your best friend. I looked up other daisy cakes and found inspiration for this cake. I really liked how it was all Spring feeling, just as the weather was turning nice here. I also think that this cake would make a great mother’s day cake, which you know is on May 12th. It’s just around the corner! I’m glad I took this course and know to make time for the fourth course: advanced gum paste flowers! I can’t wait to learn more!
On-The-Go Breakfast Burritos – Family Sharing
My mom always makes these tasty breakfast burritos! I usually take a couple with me back to school. They are easy to re-heat and eat on my way to class. They are the perfect burrito to eat on-the-go!! Since I came down from college this weekend, we thought it would be an opportune time for me to learn how to make them and share them with you all!

The best thing about these burritos is their versatility! You can mix and match the ingredients to fit your mood or taste. My mom typically sticks with the ingredients shown above. In the past she has switched up the ingredients and used lesser quality ingredients but it makes the burritos not as flavorful. So keep in mind the BEST burritos come from using the best ingredients!

Start by cooking the tater tots to the package instructions. My mom has found that using tater tots as the potato filling instead of hash browns is easier, they have a better consistency, and taste delicious!

The next step is to cook and brown the breakfast sausage. My mom loves to use her cast iron skillet to cook the sausage. We personally prefer to use Boulder Sausage instead of sausage links. (Shout out to my fellow Coloradans!) My mom has also used their Chorizo but found that it was little too spicy for her first thing in the morning It was tasty, but was a better choice for later in the day. Once the sausage is cooked put it in a bowl and set aside.

Use all dozen eggs! My mom likes to use Egg-land’s Best Eggs because she thinks they taste the best! Whisk the eggs together with 1 cup of milk.

This next step is KEY! Cook the eggs in the same skillet that you cooked the sausage. Do not clean your skillet before you use it to cook the eggs. By cooking it in the same pan with the left over brown bits from the sausage the eggs gain even more flavor! Cook the eggs to your desired consistency. For those food perfectionists out there, don’t worry if the eggs do not look pretty with the browned bits, they are going to be hidden in the burrito!

Once your eggs are done, your tater tots should be coming out of the oven. You might be tempted to snack on a few, try to refrain. Although one or two won’t be missed, right? Now it is time to start assembling the burritos.

For easier assembly, warm-up half of your tortillas in the microwave. My mom’s secret to pliable tortillas is to cover them with a damp paper towel and cook them for 1 minute. Also, my mom uses the smaller tortillas. They are a more manageable portion, plus then you get more burritos! While you are assembling keep the damp paper towel over the tortillas as it will help to keep them soft. Tear medium foil squares to equal the number of tortillas. These are what you will use to wrap up each burrito. By having the foil squares all ready to go it allows you to just keep making burritos instead of stopping after each one to cut another square of foil.

Now that we are all prepped to assemble – let’s get going. Spray a little cooking spray onto your foil square. This will help keep the burrito from sticking to the foil when re-heating. Put a large spoonful of egg on first, then the sausage, then the green chile. We like to use 505 Southwestern Green Chile. Add about three tater tots and sprinkle with cheese. It might take a couple of times to find the right ratio of ingredients to keep the burrito from being too full.

After all the burritos are assembled put them in the freezer. Now you have tasty on-the-go breakfast burritos! There are two ways to re-heat the burritos. You can use a toaster oven/conventional oven or a microwave. My mom prefers to warm up her burritos using the toaster oven for 30-40 minutes at 400 degrees. She just sticks the burrito in the toaster oven when she wakes up, then she gets ready for work. By the time she is ready to leave, the burrito is heated-up and ready to be eaten. I prefer to heat mine up in the microwave. Heat it at 50% power for 3-4 minutes, then flip the burrito, and cook it at 100% power for 1 minute. They are so good!
On-The-Go Breakfast Burrito Recipe
Makes 20 Smaller Tortilla Burritos
Ingredients:
1 Pound of Boulder Breakfast Sausage
12 Dozen Egg-land’s Best Eggs
1 Cup of Milk
2 Pound Package of Tater Tots (You might have a few left over to snack on)
16 Ounces of 505 Southwestern Green Chile
1 Pound Bag of Monterey Jack Shredded Cheese
20 Soft Flour Tortillas (8 Inches In Diameter)
Foil (Cut Into Medium Squares)
Cooking Spray
Directions:
1. Cook tater tots according to package directions.
2. Cook and brown the sausage. Once cooked, put in a bowl and set aside.
3. Whisk together all the eggs (12) and 1 Cup of milk. Cook the eggs in the same skillet you cooked the sausage. (Do not clean the skillet before cooking the eggs).
4. Cut the foil squares. Warm-up about 5 tortillas in the microwave with a damp paper towel covering them for 1 minute on high.
5. Lightly spray each foil square before assembling each burrito with the cooking spray. Put the tortilla on the sprayed foil square. Add some egg, sausage, cheese, green chile, and about three tater tots. Wrap up the burrito and then wrap in the foil.
6. Put the burritos in the freezer.
7. Re-heat 1 burrito using your preferred method and then enjoy!
Irish Cream Iced Coffee
I have really been enjoying iced coffee this summer! It’s so tasty, and I wanted to try to make my own. The first recipe I was on Ree Drummond’s blog. Her recipe was a little to massive on scale for me, but I really like her method. The next recipe I was on Averie Cooks Blog. Her recipe was more my style.

Ingredients:
3 Tbsp Whole Espresso Beans
6-8 C. Water
Bailey’s Irish Cream
—-
Coffee Grinder
Coffee Machine
Ice Cube Tray

Directions:
1. Put whole espresso beans into the coffee grinder. Grind beans until they are fine pieces.
2. Brew 6 or 8 cups of coffee in machine.
3. Chill hot coffee in the fridge for at least 30 minutes. I like to chill mine for about an hour.
- For colder iced coffee chill Irish cream and mug along with coffee.
- I also like to make a few coffee cubes instead of ice cubes. This helps keep the coffee from become watered down.
4. Pour coffee into mug. Pour Bailey’s Irish Cream into mug. I only pour the cream until I can see is starting to swirl in the coffee.
5. Add coffee or ice cubes if desired and Enjoy!
**Variation: I also have used milk and some butterscotch schnapps instead of the Irish cream and that works well too!
How to Fill a Piping/ Decorating Bag
When decorating with piping bags there are several techniques to make it easier. First the bag itself. I prefer to use the disposable plastic bags. It save time on clean-up and piping with different colors. If I don’t have piping bags, plastic sandwich bags can work as well. I do have a few professional piping bags by Wilton that I like.
First, when I am use decorating bags, I make sure to have my frosting or icing ready. I found it easier to pipe when my frosting/icing is just under or at room temp. However, the temperature of your frosting or icing really depends on the type and purpose.
Second, I collect all my supplies, couplers, tips, spatula/spoon, bags, scissors, etc.. Now I measure the coupler and the bottom of the decorating bag. I make a cut in the bag just below where the top of the coupler was on the bag. I stick the coupler into the back and try to fit it into the bottom. The coupler should fit snuggly with the threads of the coupler are not in the bag. If you need to cut more of the bag, push the coupler up a little and make the cut.
Third, I attach my tip. Then I fold the top of the bag 1-2 inches over.  Fourth, I fill the bag with frosting or icing. By having the fold it helps to make sure that all the frosting makes it into the bag and not on the outside.
  Fifth, I push the frosting down towards the tip. By keeping the frosting closer to the tip it allows for better pressure when piping.
  Sixth, twist the top right at the top edge of the frosting. This also will help the pressure while piping.
  Seventh, make sure to keep holding the twisted part of the bag.

Eighth, now you have filled your decorating bag!
